s'mores cupcakes

Three things that you must know:

1)  I have never actually been camping before.

(Shame on me right?  That's what you get when you live on a berry farm in Summer)

2)  I have made s'mores in Winter by placing a marshmallow on a toothpick, and holding it over a candle.

3)  I definitely borrowed my Dad's blowtorch for these cupcakes since I don't have a proper kitchen one yet....and it just sounded way more exciting.

It's always fun when I get to experiment with something new in the kitchen....and using a blowtorch for these cupcakes was a hoot!  Haha.  Let's say there was quite a bit of squealing and giggling coming from the kitchen as Jordyn and I tested our torching skills!

These cupcakes were inspired by

call me cupcake

's

version

, although I used my own chocolate cake recipe!  You should definitely go check her website out!  Some of it is in Swedish, but she always has her recipes in English as well.  It's just so darling!

I'm in love with all of the textures these cupcakes have going on.  The crunchy/crumbly graham cracker crust (that will inevitably end up all over your lap), the fluffy chocolate cake, and finally the little dollop of toasted heaven on top!  So good.

S'mores Cupcakes

inspired by:

Linda Lomelino

Ingredients:

1/2 cup graham cracker crumbs

2 tbsp butter (melted)

1/2 cups Flour

1 cups Sugar

1 tsp Baking Soda

1/2 tsp Salt

1/3 cup Cocoa

1/2 TBSP Vanilla

1 TBSP Vinegar

1/3 cup Margarine (melted)

1 cups Warm Water

3 large egg whites

2/3 cup sugar

1 tsp vanilla

*thermometer (for measuring marshmallow frosting temperature)

Instructions:

1) Mix together graham cracker crumbs and melted butter.  (If crumbs seem too gooey or too dry, you can just add either a bit more crumbs or butter).

2)  Prepare a cupcake tin with paper liners.  Firmly press a couple teaspoons of crumb mixture into the bottom of 12 liners.

3)  Bake at 350 for 10 minutes.  Set aside.

4)  In a large bowl, mix together all dry ingredients together.

5)  Pour wet ingredients over dry, and mix until combined.

6)  Pour cake batter into the 12 liners.

7)  Bake cupcakes for 20-25 minutes, or until a toothpick comes out clean.  Allow to cool completely.

8)  Mix together egg whites and sugar in a bowl set over a saucepan with gently boiling water.  Whisk constantly to ensure your eggs don't curdle.  Whisk like crazy!  Keep cooking until the mixture reaches 65 degrees celsius. 

9)  Remove from heat and whip on your highest speed until stiff peaks form.  Add in vanilla.

10)  Frost your cupcakes however you like!  I used my largest star tip and a frosting bag, but a large ziplock with the end simply cut out would also work great.

11)  If you have a kitchen torch, then go to town toasting your marshmallow frosting.  

If not, you can place your cupcakes on a cookie sheet and broil them in the oven.  These do not take long at all, so please do not take your eyes off of them!

Or, you can always borrow a blowtorch and toast them that way...

Oh yeah....and big news of the week?  I learned how to make a gif!!!

It was a bit of an impromptu thing....as I had taken a million shots while Jordyn torched this cupcake, so next time I'll definitely use a tripod!  But, I was pretty stoked with how it turned out, and it's always fun to learn something new.  Even if it did take me an hour and a half to figure it out....

Also....try not to set your cupcake liners on fire.  Ooops!  Our bad.

p.s. 

 kelsey

Paska (Easter Bread)

paska-12.jpg
paska-7-2.jpg

Sometimes you eat sweet bread for breakfast, and pretend like it's not actually dessert.

No judgement, right?

paska-14.jpg
paska-17.jpg

It's Paska season!!!

Now, if you're of German, Ukrainian or Russian descent....then you probably know what's up with Paska.  If you're not, then you might be a bit confused.  Paska is a sweet bread that is made for Easter, and is often topped with icing and sprinkles!  (You can read more about it here)

All you really need to know is that it's white bread with sprinkles.  That gets an A in my book any day!

paska-26.jpg
paska-37.jpg

My lovely momma helped me whip up this batch of paska, as she is the expert bread maker in our house!  She's a pretty swell teacher, and I hope one day I can bake bread as well as her!

If you're a bit nervous about yeast baking....don't be!  Homemade bread always wins.

This recipe comes from my Auntie Irene (who technically isn't my aunt, but is best buds with my mom....you know how it is).  She has such a generous spirit, and is known for baking batch after batch of this stuff and gifting it away to everyone she meets.  She's the best!


p a s k a

recipe from: Irene Claassen
yield: approximately 5 loaves, or 40-45 buns (this will depend on the size)

Ingredients:

2 1/2 tsp yeast

1 cup warm water

2 tsp sugar

2 cups milk

3/4 cup butter

5 eggs

1/2 cup sugar

1 tsp salt

1 tsp vanilla

1 lemon (juiced and zested)

9-10 cups flour

.

Paska is best fresh, so we pop most of ours into the freezer (sometimes we slice our loaves before that), and then take them out whenever we desire!

Directions:

1)  In a small bowl, mix together yeast, warm water and sugar.  Set aside for about 10 minutes to let rise. (If it doesn't get nice and puffy, try again.  If your yeast is old and not rising, you'll want to buy some new stuff!)

2)  Add milk and butter together in a small saucepan, and heat until butter is melted.  Remove from heat and cool.

3)  In a large bowl, beat eggs until frothy.

4)  Slowly add the sugar to your eggs, then add salt, vanilla, lemon juice and lemon zest.

*Now this is when you'll want to pour the mixture into a Bosch bread mixer (or attach a dough hook to your beaters).

5)  Add yeast mixture, as well as the butter and milk to the egg mixture.

6)  Start adding flour, and stop when the dough starts to pull away from the sides of your bowl.  For us, it was around 9 3/4 cups, but it'll be a bit different every time depending on the size of your eggs and lemon.  This is quite a sticky dough, so don't be tempted to add any more flour than you really need to....otherwise you'll get tough paska!

7)  Once your dough has pulled away from the sides, keep mixing for another 8 minutes.  (Or you can always knead by hand!).

8)  Transfer into a large, greased bowl, cover with a clean tea towel, and let rise in a warm place for 1 1/2 hours (or until doubled in size).  Then punch down, and let rise for another half hour.

9)  Form dough into loaves (or buns) and place on greased pans to rise for another 1-2 hours.

10)  For loaves: bake at 325 degrees for 10 minutes, and then at 275 degrees for 15-20 minutes more until nicely browned.  If you're nervous about them not being done, you can always cut a loaf open to make sure the inside isn't gummy!

For buns: bake at 325 degrees for 13 minutes.

Optional:  You can choose to serve these with icing and sprinkles, or toasted with butter.


paska-1-2.jpg
paska-2-2.jpg
paska-11.jpg

Some people like icing the top of their bread, others like to slice it and then ice the face of the bread.  My family loves toasting it and topping it with butter!  Sweet and salty.  So good.

There really isn't a wrong way to do it.  So whatever floats your boat is just fine!

paska-1-3.jpg
paska-38.jpg
paska-31.jpg
paska-39.jpg

All of the sprinkles that were used in the making of this post made me insanely happy.

What didn't make me happy was walking on sprinkles, and sweeping up sprinkles forever and ever.

They're kind of like glitter....you can never really get rid of them all!

♥ kelsey

tasty tuesday: angel food cake {from scratch} + 7-minute frosting + a happy new year!


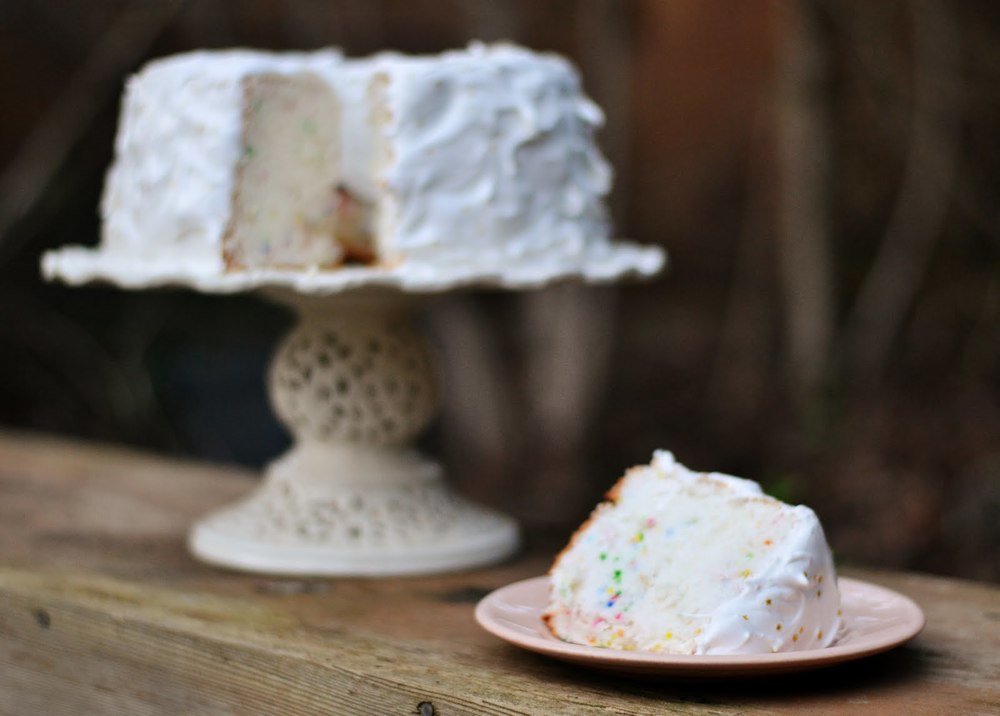
Angel food cake is definitely a favorite around our house, especially for birthdays.  It's such a nice, light cake...and the little pops of colour you get once you cut it open just make me ridiculously happy.


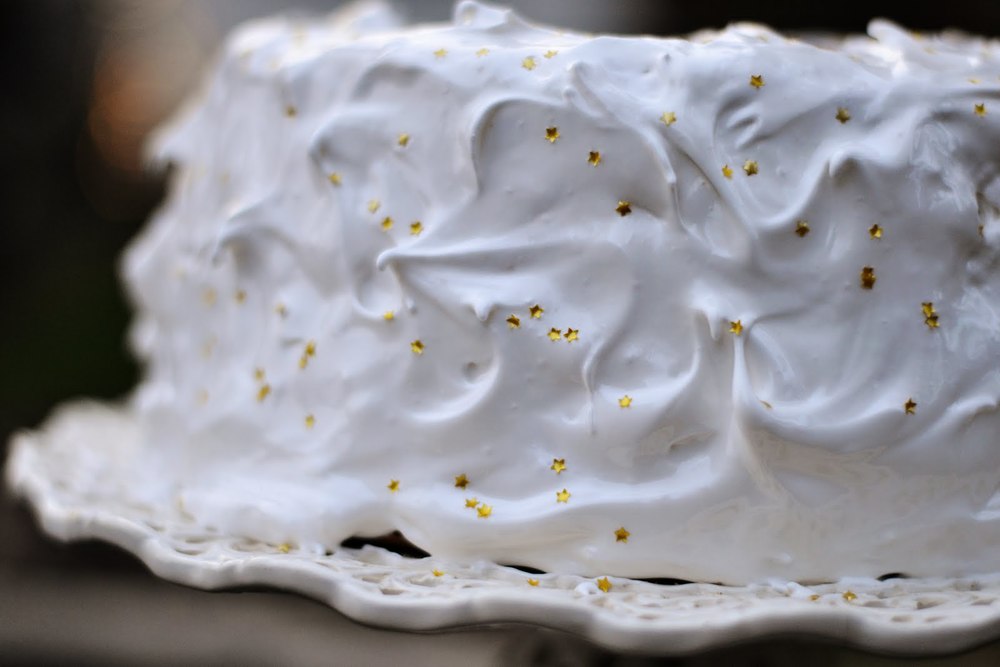
We decided to pair this made-from-scratch angel food cake with 7-minute frosting.  If you've never had it before, then we highly recommend that you do!  This frosting is made mostly of egg whites, and a bit of sugar, and is wonderfully fluffy!


Angel Food Cake
from: Fayrene De Koker (allrecipes.com)

Ingredients:
1 1/2 cups of Egg Whites (approx. 10-12 eggs) - *it's important that your eggs are at room temperature before you start!
1 1/4 cups of Icing Sugar
1 cup of Flour
1 1/2 tsp Cream of Tartar
1 1/2 tsp Vanilla
1/2 tsp Almond Extract
1/4 tsp Salt
1 cup Sugar

optional (but not really optional): 1 TBSP nonpareils (sprinkles) - to make your cake colourful!

Directions:
1)  First, separate the egg whites from the yolks, being careful that no yolk contaminates each egg white.  Make sure that you have 1 1/2 cups of egg whites, and place in a mixing bowl.
2)  Next, in a separate bowl, sift your icing sugar and flour together three times, and set aside.
3)  Add cream of tartar, vanilla and almond extracts, and salt to the egg whites.  Beat on high speed, and gradually add in sugar.  Mix until all of the sugar is dissolved, and stiff peaks have formed.
4)  Very gently, fold in flour mixture, 1/4 cup at a time.  Then fold in nonpareils!
5)  Gently spoon into an ungreased 10-inch tube pan.
6)  Bake for 40-45 minutes at 350 degrees.
7)  Immediately invert pan onto a cooling rack, and let the cake cool completely before removing from the pan.


When adding in the sprinkles, be sure not to stir your batter TOO much....otherwise their colour will start to run!


Our cake browned extremely quickly, so we placed a square of tin foil over the top to keep it from overbrowning!


7-minute Frosting
from: Company's Coming: Cakes - Jean Pare

Ingredients:
2 egg whites
1 1/2 cups Sugar
1/3 cup Cold Water
1 1/2 tsp Light Corn Syrup
1 tsp Vanilla

Directions:
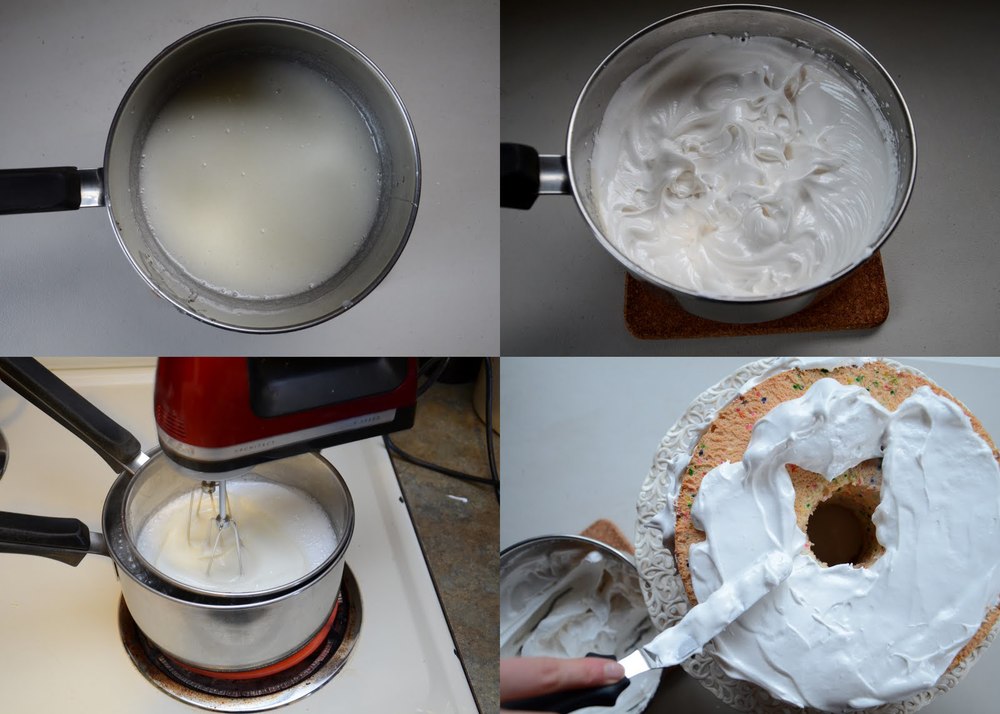
1)  Set up a double boiler (ie. one pot sits on the burner with a bit of boiling water, and another pot/metal bowl sits on top of it.) and bring water to a rapid boil.
2)  In your top pot/bowl mix together egg whites, sugar, water, and corn syrup until well mixed.
3)  Place it over boiling water, and beat constantly on high for 7 minutes, or until the frosting will stand in peaks when the beaters are raised.
4)  Remove from heat, and beat in vanilla.
5)  Immediately frost your cake, as this frosting will set very quickly.


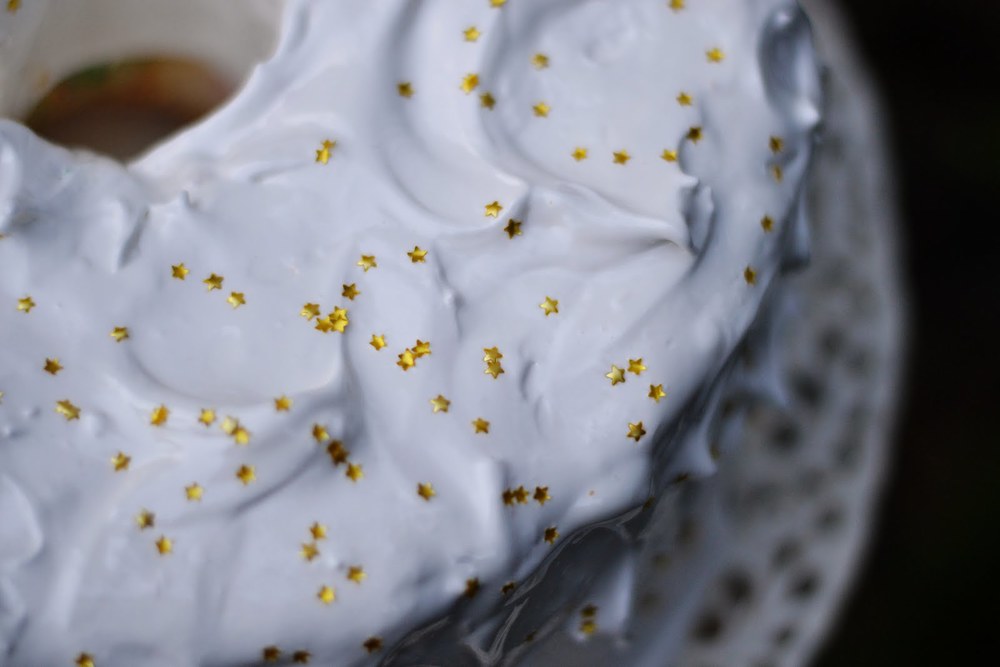
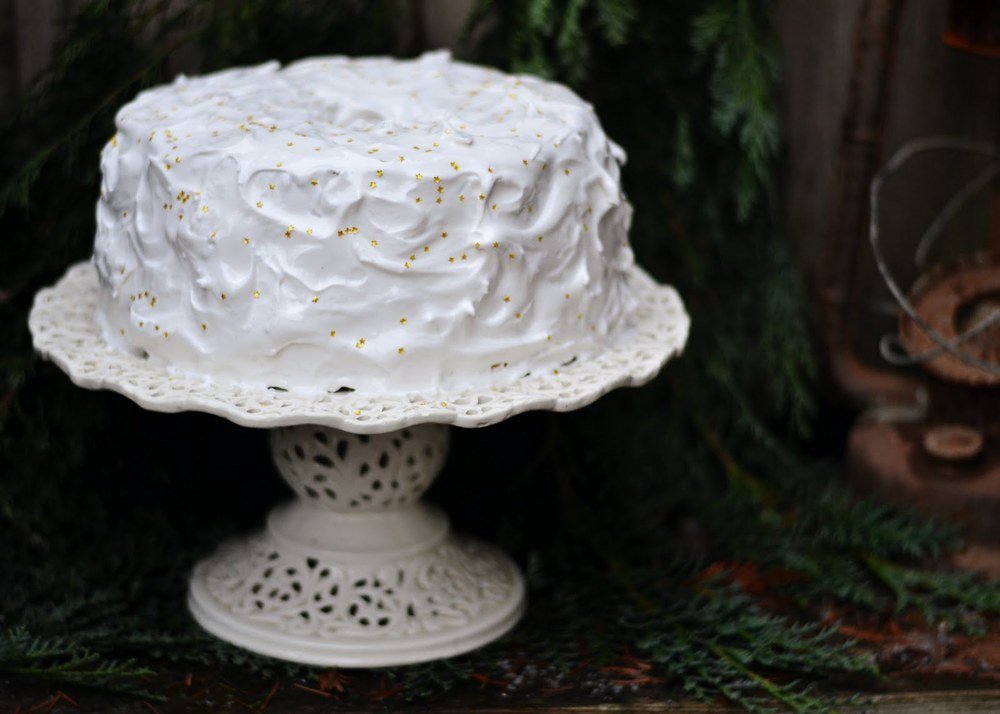
We used an offset spatula, and a plain butter knife to ice our cake....and used swoopy motions to give it a bit of texture!

We also chose to decorate it with the sweetest edible gold stars, which I'm totally in love with.


Today has been a wonderful beginning to the new year, as Jordyn and I got to bake together, and then had some dear friends over for supper and games!  The cake was a hit, and we hope you will give it a go yourself!


p.s.  ♥ kelsey & jordyn