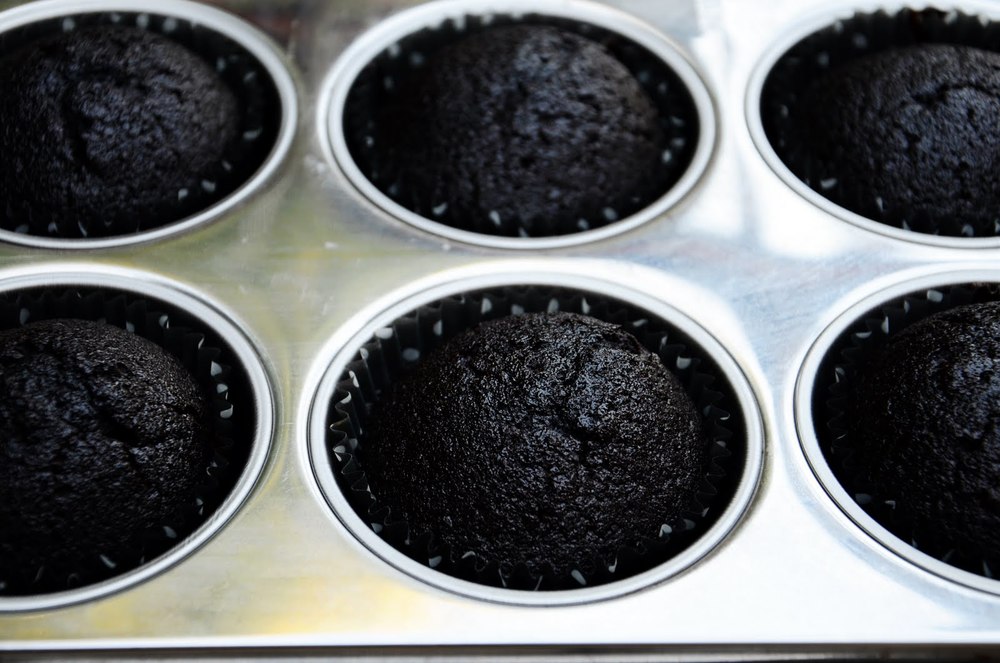
cupcakes for two

Sometimes all you want in life is a cupcake.  Amirite?

But you know that if you make a full recipe, then all those cupcakes will be sitting in your house...just waiting for you to eat them.  All of them.  So, what's a girl to do?  Just make two of course!  Because, let's be honest here, my self-control is not that strong.

Read More

happy halloween // a styled dessert table

 We had so much fun with all the details, and are so happy with how it turned out.  Caramel corn, pumpkin cookies, salt water taffy and fresh apple cider are just a few of our favorites treats at this time of the year!

Pumpkins make the easiest decorations, and add wonderful texture and colour to a dessert table. Put all of that together, and you have sweet and simple Halloween party!  We got our invitations, stickers, napkins and gift tags from Tiny Prints, and we're in love with their huge selection, as well as the fact that nearly everything they sell is customizable.  So wonderful!

p.s. ♥ kelsey & jordyn

s'mores cupcakes

Three things that you must know:

1)  I have never actually been camping before.

(Shame on me right?  That's what you get when you live on a berry farm in Summer)

2)  I have made s'mores in Winter by placing a marshmallow on a toothpick, and holding it over a candle.

3)  I definitely borrowed my Dad's blowtorch for these cupcakes since I don't have a proper kitchen one yet....and it just sounded way more exciting.

It's always fun when I get to experiment with something new in the kitchen....and using a blowtorch for these cupcakes was a hoot!  Haha.  Let's say there was quite a bit of squealing and giggling coming from the kitchen as Jordyn and I tested our torching skills!

These cupcakes were inspired by

call me cupcake

's

version

, although I used my own chocolate cake recipe!  You should definitely go check her website out!  Some of it is in Swedish, but she always has her recipes in English as well.  It's just so darling!

I'm in love with all of the textures these cupcakes have going on.  The crunchy/crumbly graham cracker crust (that will inevitably end up all over your lap), the fluffy chocolate cake, and finally the little dollop of toasted heaven on top!  So good.

S'mores Cupcakes

inspired by:

Linda Lomelino

Ingredients:

1/2 cup graham cracker crumbs

2 tbsp butter (melted)

1/2 cups Flour

1 cups Sugar

1 tsp Baking Soda

1/2 tsp Salt

1/3 cup Cocoa

1/2 TBSP Vanilla

1 TBSP Vinegar

1/3 cup Margarine (melted)

1 cups Warm Water

3 large egg whites

2/3 cup sugar

1 tsp vanilla

*thermometer (for measuring marshmallow frosting temperature)

Instructions:

1) Mix together graham cracker crumbs and melted butter.  (If crumbs seem too gooey or too dry, you can just add either a bit more crumbs or butter).

2)  Prepare a cupcake tin with paper liners.  Firmly press a couple teaspoons of crumb mixture into the bottom of 12 liners.

3)  Bake at 350 for 10 minutes.  Set aside.

4)  In a large bowl, mix together all dry ingredients together.

5)  Pour wet ingredients over dry, and mix until combined.

6)  Pour cake batter into the 12 liners.

7)  Bake cupcakes for 20-25 minutes, or until a toothpick comes out clean.  Allow to cool completely.

8)  Mix together egg whites and sugar in a bowl set over a saucepan with gently boiling water.  Whisk constantly to ensure your eggs don't curdle.  Whisk like crazy!  Keep cooking until the mixture reaches 65 degrees celsius. 

9)  Remove from heat and whip on your highest speed until stiff peaks form.  Add in vanilla.

10)  Frost your cupcakes however you like!  I used my largest star tip and a frosting bag, but a large ziplock with the end simply cut out would also work great.

11)  If you have a kitchen torch, then go to town toasting your marshmallow frosting.  

If not, you can place your cupcakes on a cookie sheet and broil them in the oven.  These do not take long at all, so please do not take your eyes off of them!

Or, you can always borrow a blowtorch and toast them that way...

Oh yeah....and big news of the week?  I learned how to make a gif!!!

It was a bit of an impromptu thing....as I had taken a million shots while Jordyn torched this cupcake, so next time I'll definitely use a tripod!  But, I was pretty stoked with how it turned out, and it's always fun to learn something new.  Even if it did take me an hour and a half to figure it out....

Also....try not to set your cupcake liners on fire.  Ooops!  Our bad.

p.s. 

 kelsey

tasty tuesday: camouflage cupcakes

Today I'd like to present you with...camouflage cupcakes!!

These babies are definitely out of the norm for Jordyn and I, but Jordyn had her heart set on making camo cupcakes for one of her best friends' birthdays.  Let's just say I was pretty skeptical about the whole situation, especially the icing part....since there was no way that I was going to fuss too much with a million bags and colours.  Lucky for us, these were waaaay easier than expected, and turned out adorably!

Now this is a bit more of a tutorial than an actual recipe, so feel free to mix up your cake recipes...and don't be ashamed to use box mixes!  We actually used a box mix for the white cake, since we love how fluffy and wonderful the cake is....and it helped speed up the whole process!

For chocolate cake, you could use our favorite

chocolate cake recipe

, or even our heavenly

mocha cake recipe

!  And for white, you could go with our nice and simple

vanilla cake recipe

.

Directions:

1)  First you'll need to get both the chocolate and white cake batters ready to go.

2)  Then, separate the chocolate into two bowls, and the white into two bowls.

3)  Leave one of the chocolate bowls alone, this will become the darkest brown.

4)  Add a few tablespoons of white batter to the other chocolate batter, until it is a slightly lighter shade of brown.

5)  Leave one of the bowls of white batter alone, and colour the other one green.

*Now these are all just guides of course!  Feel free to do different shades of green if you'd rather, no brown, or no white....just go nuts!

6)  Line cupcake tins with cupcake wrappers (or grease them if you're not using wrappers).

7)  This is the fun part!  Using squeezy bottles is probably the easiest and cleanest way to pour some of each colour of batter into the cupcake tins, but we found that measuring cups or spoons worked just fine.  The point is to add a bit of each of your four colours into the tin, creating a camo pattern.  We often poured two colours at once about halfway up the cupcake tin, and then adde a bit of the other two colours.  Once you've done a couple you'll definitely get the hang of it!

8)  Bake cupcakes according to instructions and let cool.

Icing:

For the icing, we made our basic

butter cream recipe

and doubled it.  Then we coloured some green, some brown (with a bit of cocoa powder), and left some white.  Then, I used a spatula to smear/place some of each colour down the inside of a giant icing bag.  It's hard to get the three colours distinct right at the bottom, so I piped some practice cupcakes until all three colours were coming out of the bag in a nice pattern.

If you're not up for the hassle of that, I think that plain white, chocolate or green would also look great...especially if sprinkles were involved!

Serve to your friends, and watch as they take their first bite, and are amazed at your talents!  hehe.

Jordyn just made a variation of this using just white cake batter, and coloured it all the colours of the rainbow for her dino-themed birthday we threw this past weekend.  They turned out amazingly, and just goes to show how versatile this technique can be!

I personally think that these would be adorable as pink and white or blue and white swirls for baby showers,  or even pastel swirls for bridal showers!  The possibilities are endless.

p.s. 

 kelsey

 p.p.s. linked up with

made from pinterest

!

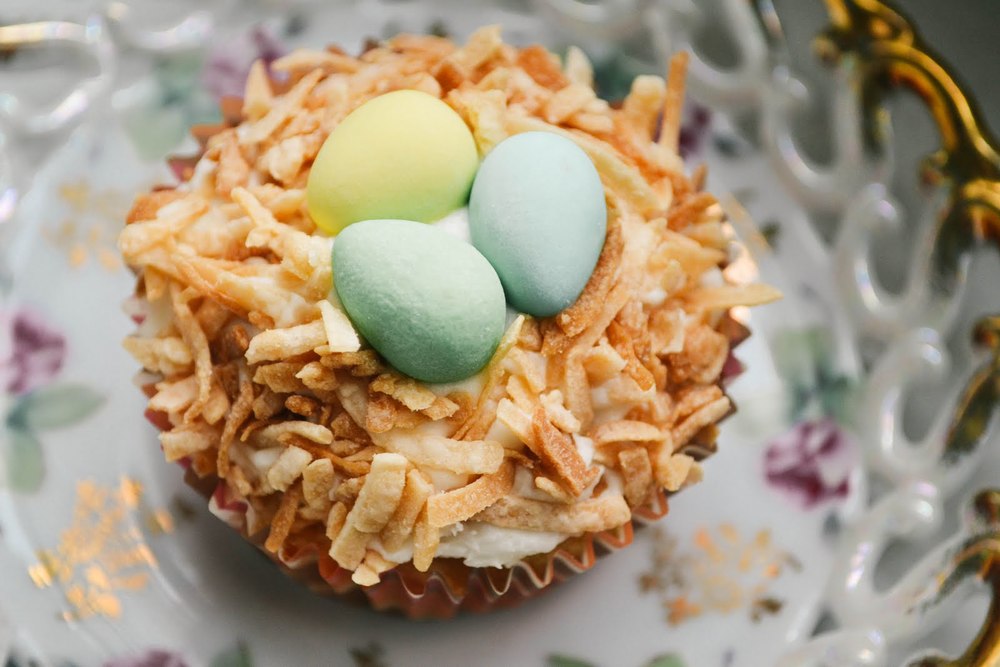
tasty tuesday: Easter egg bird's nest cupcakes (with toasted coconut nests!)


Is it just me?  Or is Easter supremely early this year?

I can't believe it's just around the corner!  And that means that school is done for me....potentially forever!  Which is both scary and exciting!

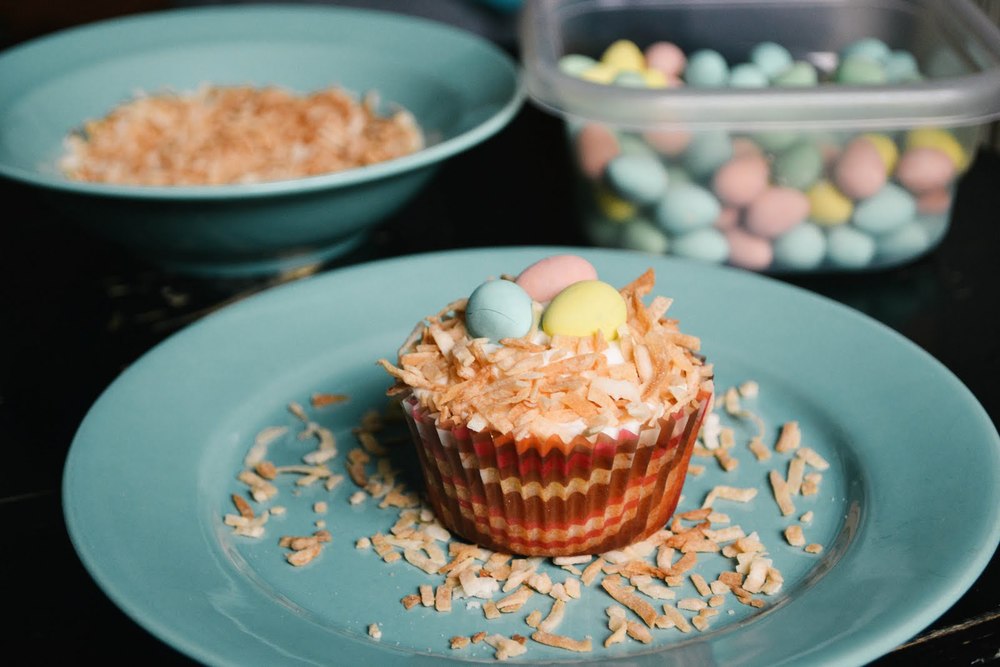
Back to the food.  I was inspired by Martha Stewart's version of bird nest cupcakes...and put my own spin on it.  There's cake, toasted coconut, and chocolate.  'Nuff said.


Easter Egg Bird's Nest Cupcakes

Materials:
-cupcakes (doesn't matter what kind....chocolate, mocha, vanilla, brown sugar, etc.)
-icing (again, it doesn't matter! whatever suits your fancy. here's the recipe for our classic buttercream) *your icing should also be pretty soft so that the coconut will stick!
-shredded coconut
-mini eggs

Directions:
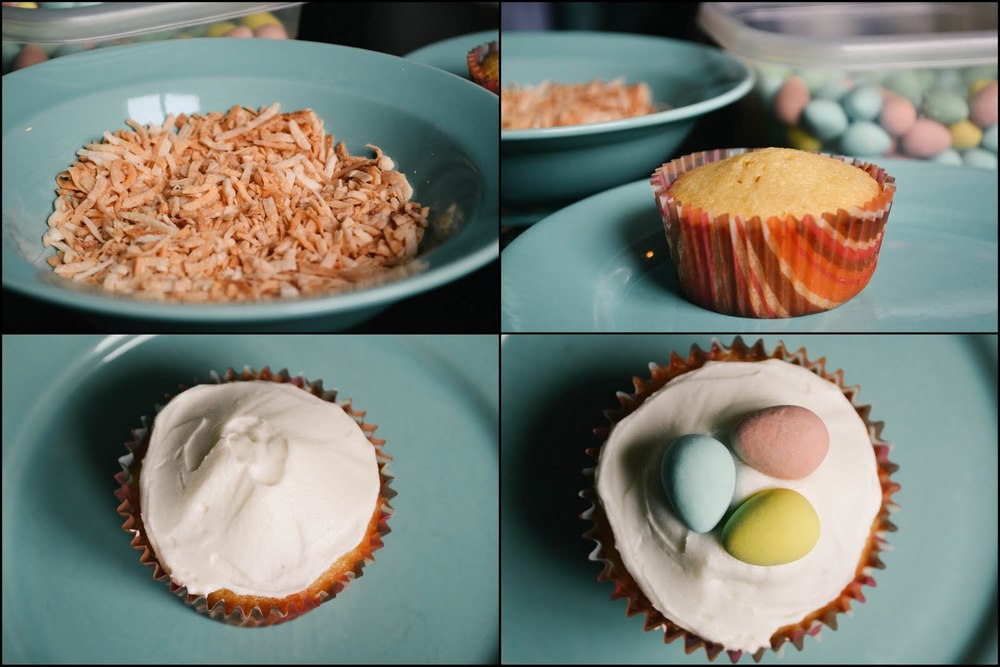
Bake your cupcakes and let them cool completely.  Also get your icing ready to go!
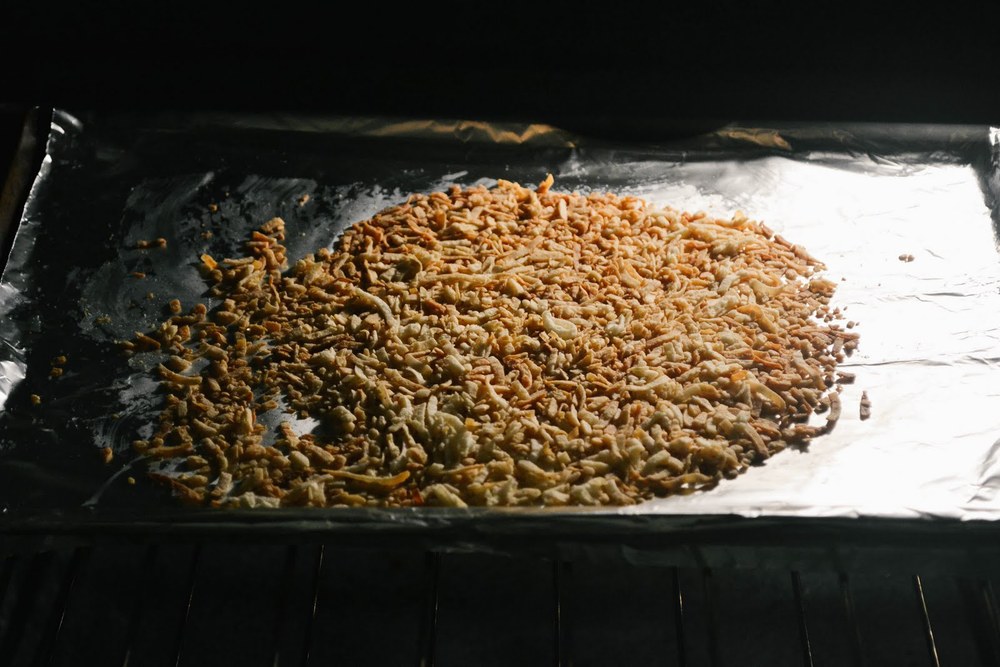
Then, place your shredded coconut onto a baking sheet, and bake at 350 degrees for about 8 minutes (or until nice and golden!).  While your coconut is cooling, ice your cupcakes and top them with your mini eggs.  Finally, sprinkle/press the toasted coconut onto the remaining icing, forming the nest.

{next time I'll probably pipe a small amount of icing in a circle around the mini eggs in order to build up the "nest" around them...but either way looks great!}


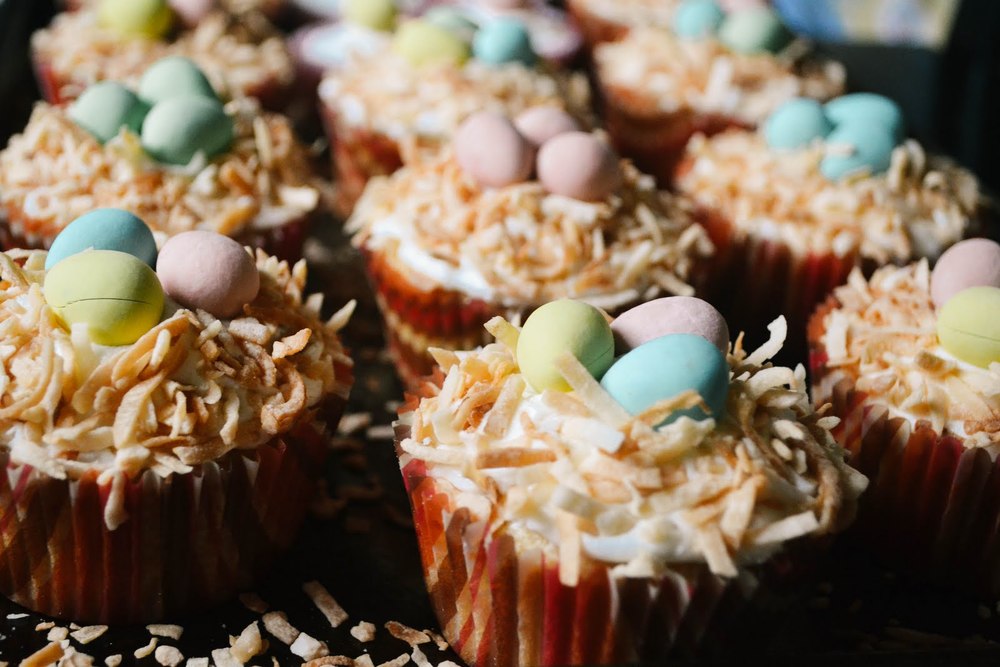
I also chose to make a few of these cupcakes without the coconut since I know that not everyone's a fan, and they still look cute!


 For me Easter means much more than the Easter bunny and chocolate eggs, but it's still fun to participate in a bit of the frivolity of the season!


p.s. ♥ kelsey


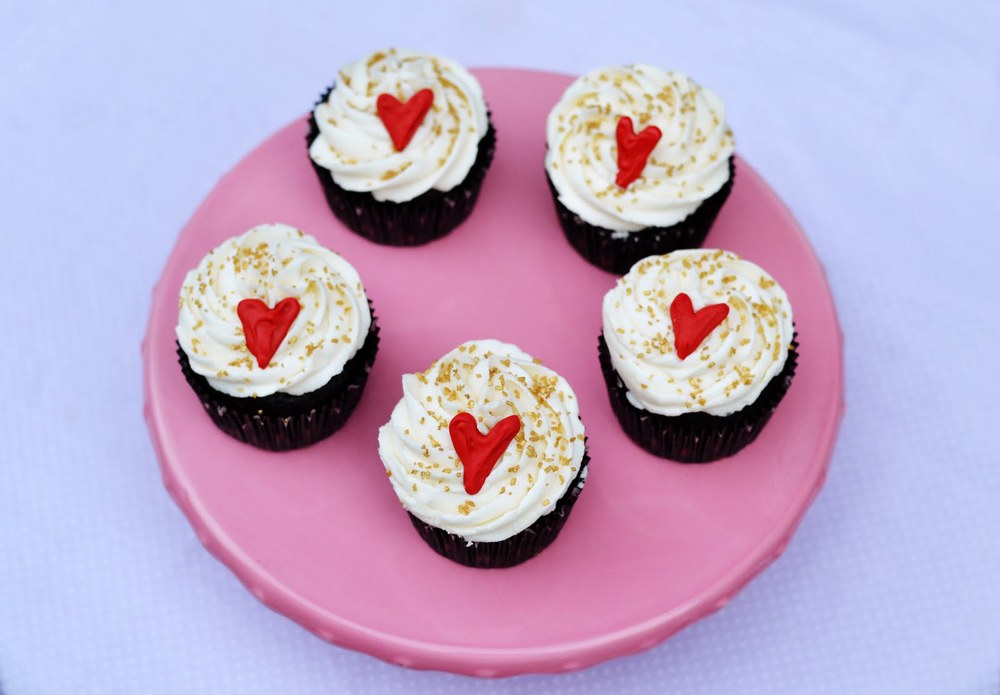
red, black and gold valentine's day cupcakes


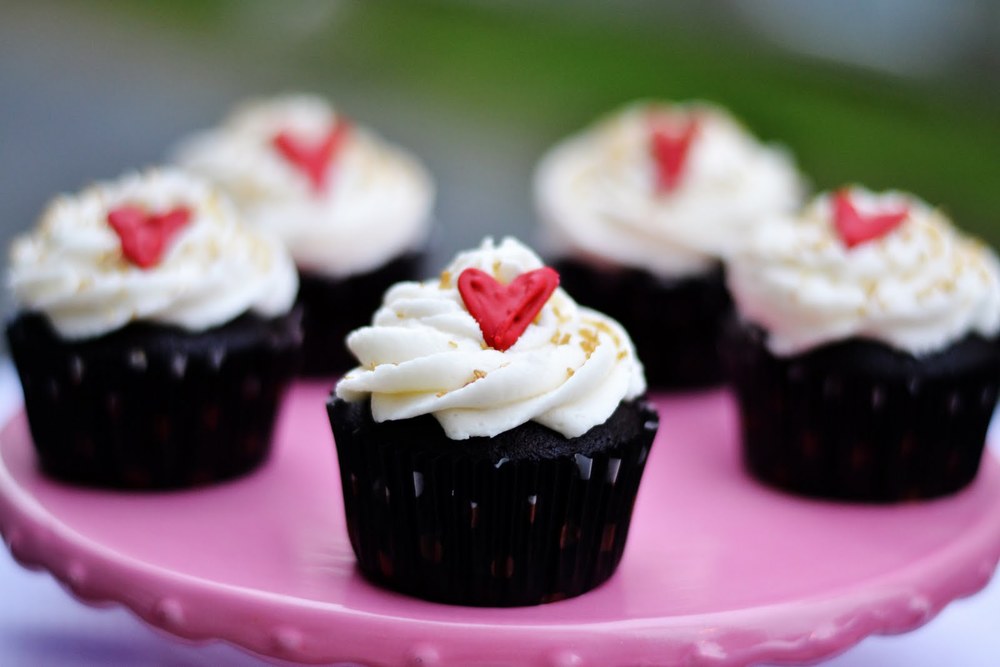
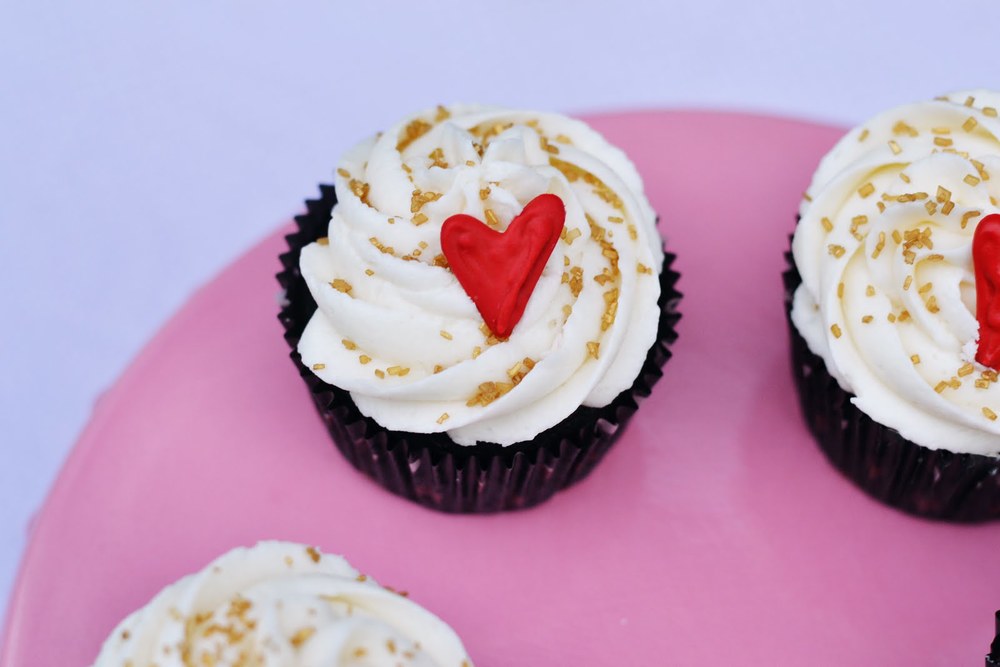
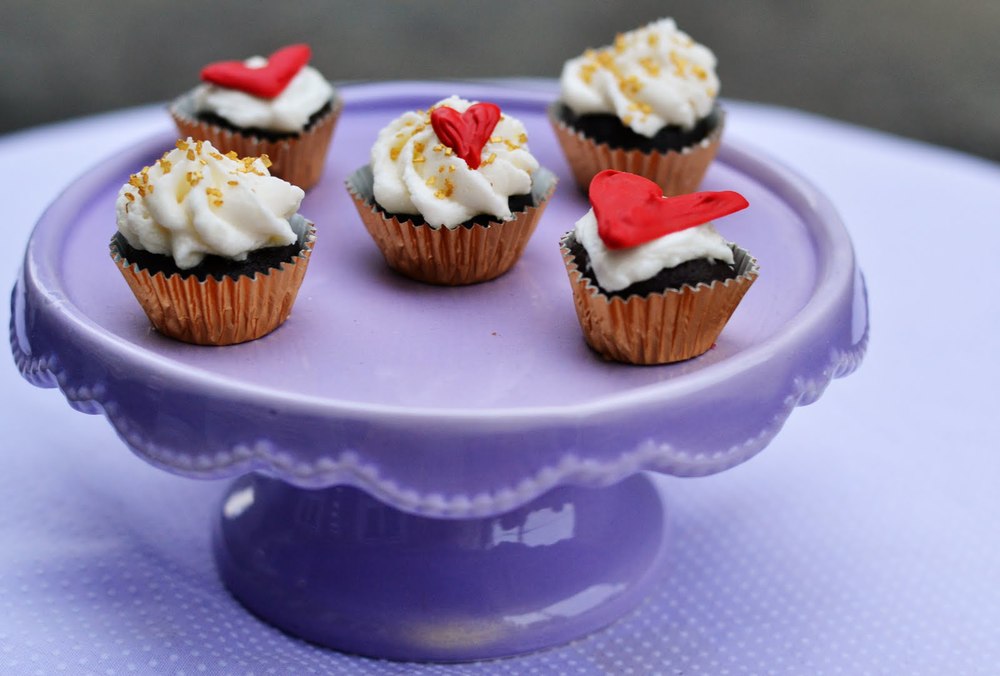
Well hello there friends!  I realize that it's not a Tuesday, so you may be wondering why I'm sharing pictures of food with you.  I was actually made these cupcakes as part of a styled shoot this weekend with the very talented Sarah Nickerson (from the Nickersons), as well as Ainsley (from Ainsley's Affairs).  It was a Valentine's Day shoot with a red, black and gold theme, and featured different local vendors from around Vancouver.  The shoot was for The Refinery, and I'll be sure to share it with you all once it's published!

Until then, here are a few of my own photos, as well as a very short tutorial (probably not actually legit enough to be a tutorial...) on how to make these yourself!


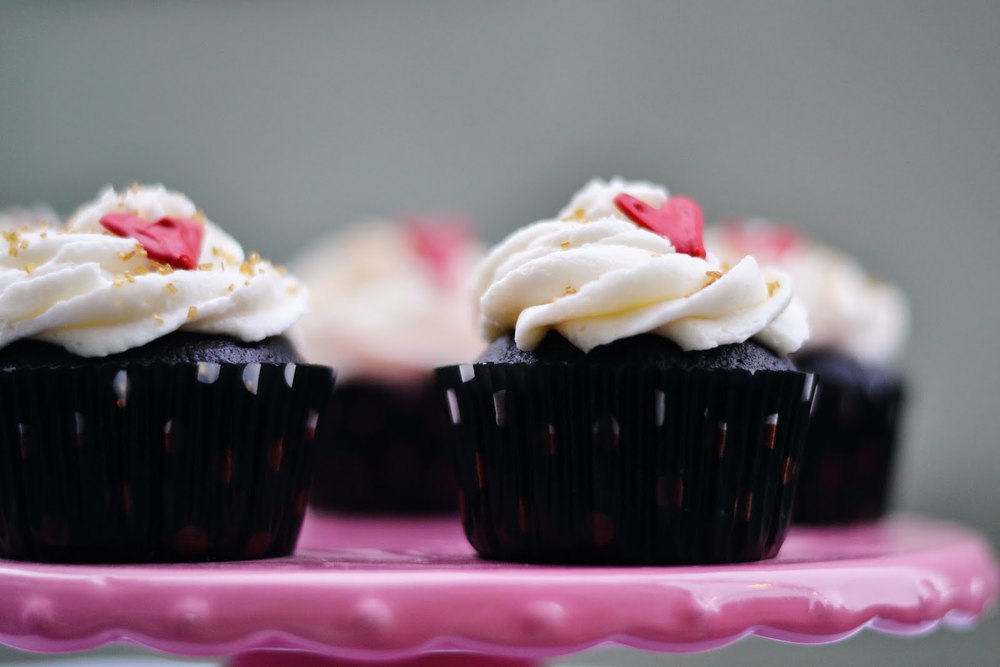
First, you'll need some cupcakes!  I chose to make my mocha ones (since they're nearly black!), but you can make whatever flavour you'd like!  {maybe chocolatevanilla, or brown sugar pound cupcakes?}

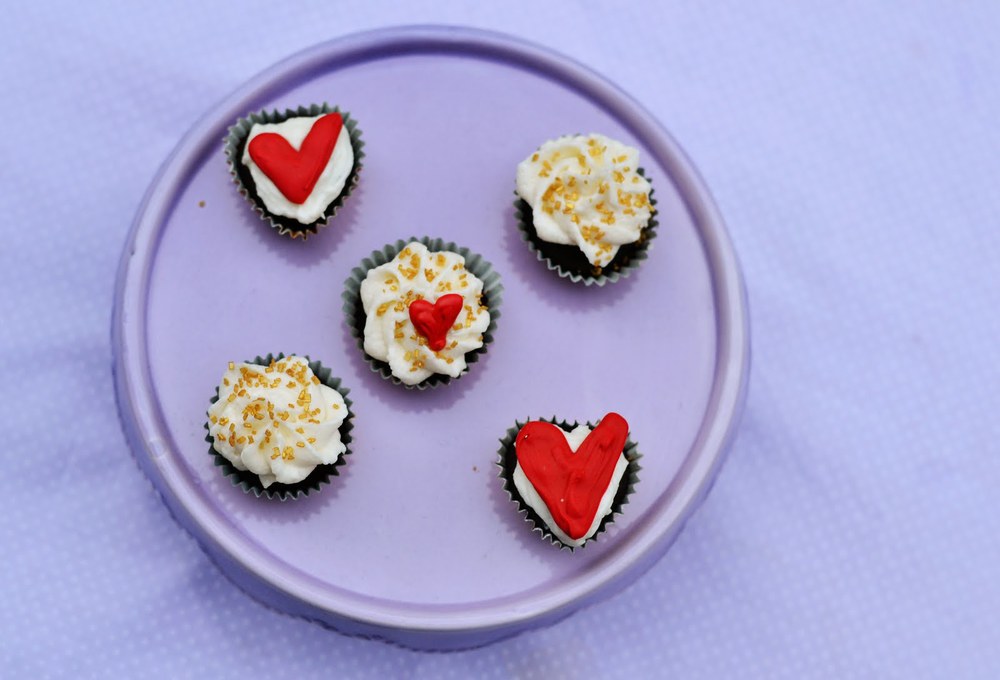
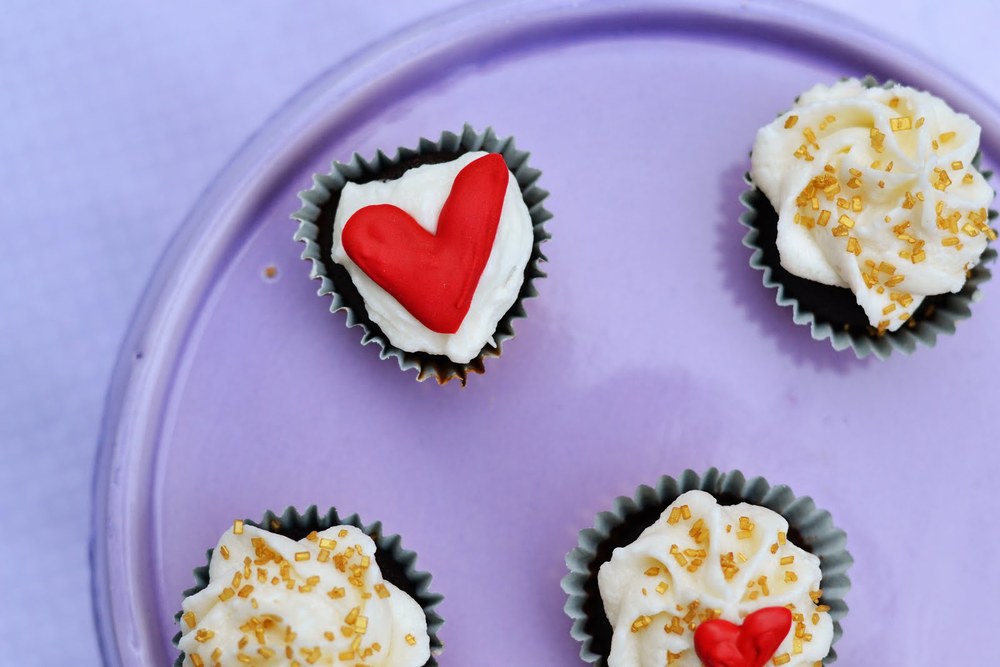
Then, I made a double batch of our basic buttercream, and used a 16mm 45-9 Kaiser icing tip to pipe the swirls.  I topped them with gold sprinkles (from Michaels)....which are totally my new favorite!


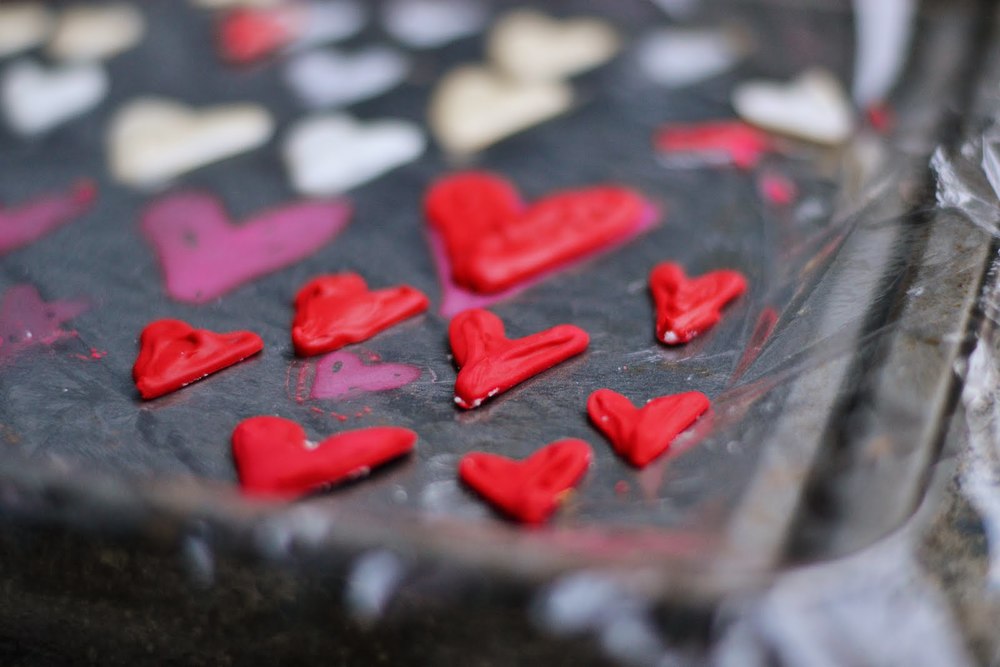
Finally, the most intensive part....the royal icing hearts!  I used approximately 1 tsp of egg white and a few tablespoons of icing sugar (until I had to count to 10 for the icing to resettle once a spoon was drawn through it...you want it pretty thick!).  I coloured the icing red, and then piped the hearts onto plastic wrap (wax paper or parchment would work better!).

*The most important part for your hearts is letting them dry 100% before you try and pick them up!  It's best to let them set for 24 hours if you can!

OR, you can just melt down some red melting wafers (you can find these at Michaels!), which might be less scary if you've never worked with royal icing.


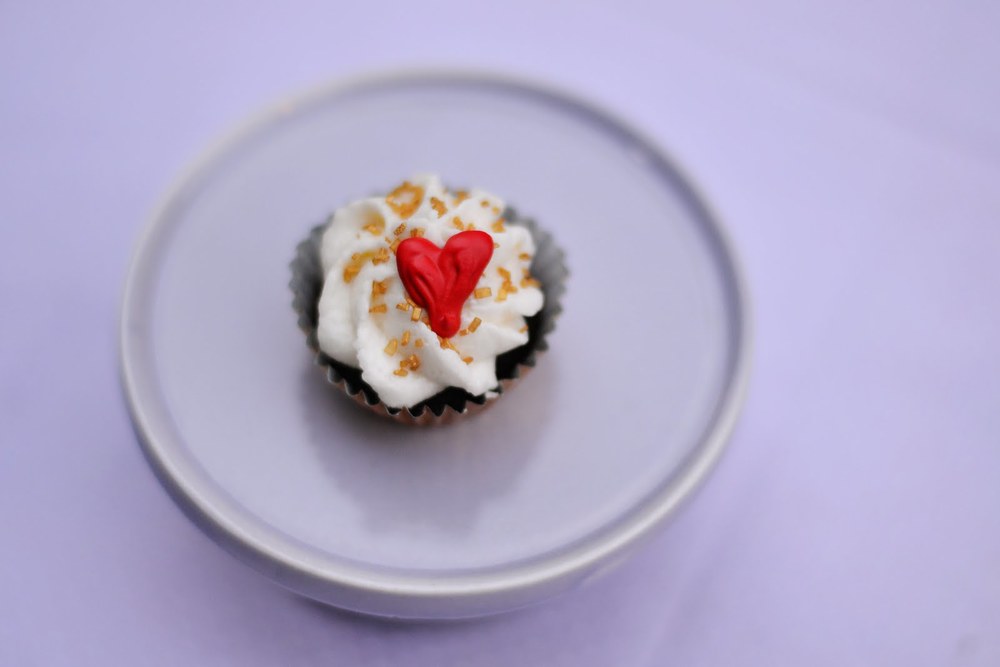
I made a few different sizes of hearts, and used a few of the slightly larger ones on my mini cupcakes!


xoxo

p.s.   kelsey

tasty tuesday: mocha cake (and cupcakes!)


Now I discovered this recipe last year when I was searching for the perfect mocha cake recipe for a series I was doing called "Mug Shots".  My dear friend Eryn and I had adapted different drinks into a cupcake equivalent, and it was so much fun!  The first time I made this cake I paired it with a peppermint frosting to emulate the peppermint mocha served by Starbucks!

I was skeptical about trying any other chocolate/mocha cake recipes since I was certain that I had already found the best (I made them HERE).  However, this cake definitely holds its own....and brings its own uniqueness to the table.  It's fluffy, moist, and chocolatey....and the coffee in it complements everything brilliantly.


This recipe works best when you use good coffee rather than instant.  Jordyn loves to use espresso to really bring out the flavour!


Mocha Cake
from: the Food Network

Ingredients:
1 1/2 cups flour
1/2 cup cocoa
1 tsp baking powder
1/2 tsp baking soda
1/2 tsp salt
1 1/4 cups sugar
2 Eggs
1 1/2 tsp Vanilla
1/3 cup of strongly brewed coffee or espresso
3/4 cup Vegetable Oil
3/4 cup hot water


Directions:
1) In a large bowl, sift together dry ingredients.
2) Add in eggs, vanilla, coffee and oil, and mix until batter is smooth.
3) Slowly add in hot water, until well mixed.
4) Bake cupcakes at 350 degrees for 15-20 minutes.  (For cakes, bake for 25-30 minutes.)  Or until a toothpick inserted comes out cleanly.