
s'mores cupcakes
/

Three things that you must know:
1) I have never actually been camping before.
(Shame on me right? That's what you get when you live on a berry farm in Summer)
2) I have made s'mores in Winter by placing a marshmallow on a toothpick, and holding it over a candle.
3) I definitely borrowed my Dad's blowtorch for these cupcakes since I don't have a proper kitchen one yet....and it just sounded way more exciting.


It's always fun when I get to experiment with something new in the kitchen....and using a blowtorch for these cupcakes was a hoot! Haha. Let's say there was quite a bit of squealing and giggling coming from the kitchen as Jordyn and I tested our torching skills!
These cupcakes were inspired by
's
, although I used my own chocolate cake recipe! You should definitely go check her website out! Some of it is in Swedish, but she always has her recipes in English as well. It's just so darling!
I'm in love with all of the textures these cupcakes have going on. The crunchy/crumbly graham cracker crust (that will inevitably end up all over your lap), the fluffy chocolate cake, and finally the little dollop of toasted heaven on top! So good.
S'mores Cupcakes
inspired by:
Ingredients:
1/2 cup graham cracker crumbs
2 tbsp butter (melted)
1/2 cups Flour
1 cups Sugar
1 tsp Baking Soda
1/2 tsp Salt
1/3 cup Cocoa
1/2 TBSP Vanilla
1 TBSP Vinegar
1/3 cup Margarine (melted)
1 cups Warm Water
3 large egg whites
2/3 cup sugar
1 tsp vanilla
*thermometer (for measuring marshmallow frosting temperature)
Instructions:
1) Mix together graham cracker crumbs and melted butter. (If crumbs seem too gooey or too dry, you can just add either a bit more crumbs or butter).
2) Prepare a cupcake tin with paper liners. Firmly press a couple teaspoons of crumb mixture into the bottom of 12 liners.
3) Bake at 350 for 10 minutes. Set aside.
4) In a large bowl, mix together all dry ingredients together.
5) Pour wet ingredients over dry, and mix until combined.
6) Pour cake batter into the 12 liners.
7) Bake cupcakes for 20-25 minutes, or until a toothpick comes out clean. Allow to cool completely.
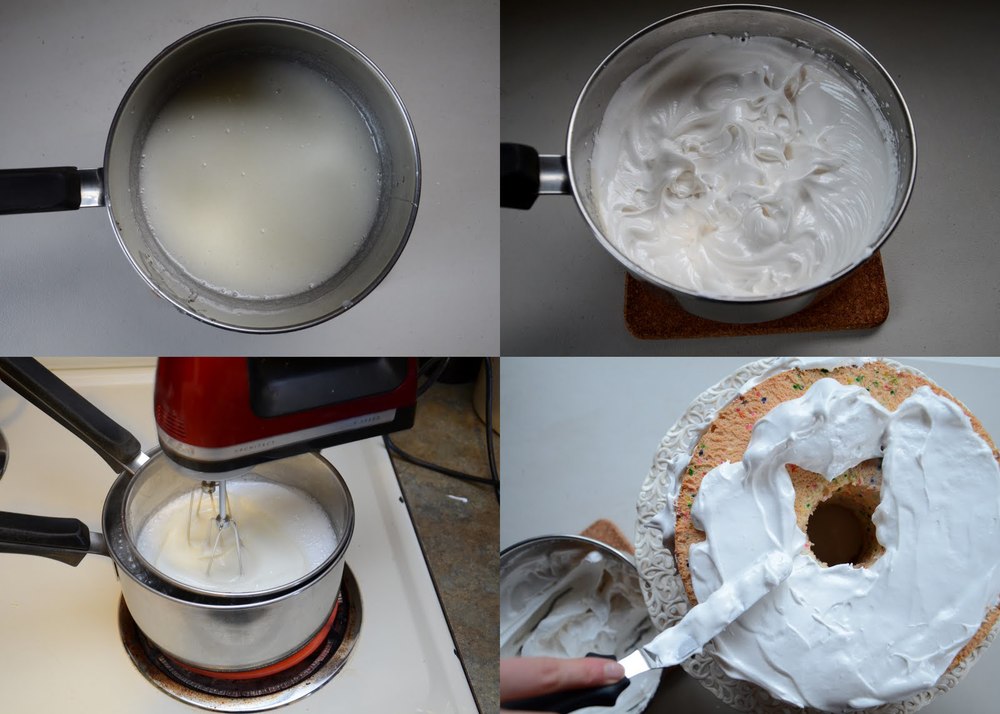
8) Mix together egg whites and sugar in a bowl set over a saucepan with gently boiling water. Whisk constantly to ensure your eggs don't curdle. Whisk like crazy! Keep cooking until the mixture reaches 65 degrees celsius.
9) Remove from heat and whip on your highest speed until stiff peaks form. Add in vanilla.
10) Frost your cupcakes however you like! I used my largest star tip and a frosting bag, but a large ziplock with the end simply cut out would also work great.
11) If you have a kitchen torch, then go to town toasting your marshmallow frosting.
If not, you can place your cupcakes on a cookie sheet and broil them in the oven. These do not take long at all, so please do not take your eyes off of them!
Or, you can always borrow a blowtorch and toast them that way...


Oh yeah....and big news of the week? I learned how to make a gif!!!
It was a bit of an impromptu thing....as I had taken a million shots while Jordyn torched this cupcake, so next time I'll definitely use a tripod! But, I was pretty stoked with how it turned out, and it's always fun to learn something new. Even if it did take me an hour and a half to figure it out....
Also....try not to set your cupcake liners on fire. Ooops! Our bad.
p.s.
♥
kelsey