diy: TARDIS painted pumpkin

I really really love Doctor Who.

If you didn't know that before, I'm sure it's blatantly obvious now.

(Remember the

TARDIS shoe diy

?  More proof.)

This pumpkin actually has a funny story behind it.  I found it while we were harvesting pumpkins about 6 weeks ago, and I thought to myself: "What a strange looking pumpkin.  It's almost shaped like a rectangle!".  I instantly knew that it had to be mine, and that I was going to paint it like a TARDIS.  So here we are!  I painted it like a TARDIS, and am quite pleased with it.

Materials:

-blue paint

-black paint

-white paint

-paintbrushes (one large, one small)

-white paint pen

-a lot of patience

Directions:

First I washed and dried my pumpkin to ensure no dirt remained.  Then I painted 2 coats of blue paint over the whole thing, letting each coat completely dry before applying the next.  Next, I used a small paintbrush to paint fine black lines along the "corner edges" of the TARDIS, and let it dry.  I used a pencil to then outline the black rectangle at the top of each side (where "Police Public Call Box" will go), as well as the 8 panels on each side. I painted the black boxes in, as well as mixed a dark blue colour to outline each panel.  After everything was dry, I wrote out Police Public Call Box using pencil first, and then used a white paint pen to write over top of it.  I printed out the little sign for the front door, and stuck it on with double sided tape!  

{*Update: I fixed the missing windows :P  so now it looks much better}

Let it dry, and you're good to go!

Happy pumpkin painting!

p.s.

 ♥ kelsey

diy: black and white painted pumpkins

Today I have another simple idea for decorating pumpkins that doesn't involve carving (in case you missed it, I made

dip dyed glitter pumpkins

last week)!  I decided to do some simple colour blocking with black and white, and I love how they came out.

Materials:

-pumpkins

-acrylic paint

-paint brush

-tape

Directions:

First I taped off each pumpkin, either diagonally, horizontally through the middle, or crisscrossing across the top.  Then, I simply painted the areas I wanted black or white, and left them to dry.  I did one coat of paint for the black, and two for the white paint.  Once they were

completely

 dry, I carefully removed the paint.

*Of course I couldn't resist adding a bit of glitter to one pumpkin, and just painted on a bit of modge podge and sprinkled some glitter on!

The possibilities are endless, and I think that silver and gold paint would look pretty awesome as well.

Happy pumpkin painting!

p.s.

 ♥ kelsey

diy: anthropologie-inspired cups


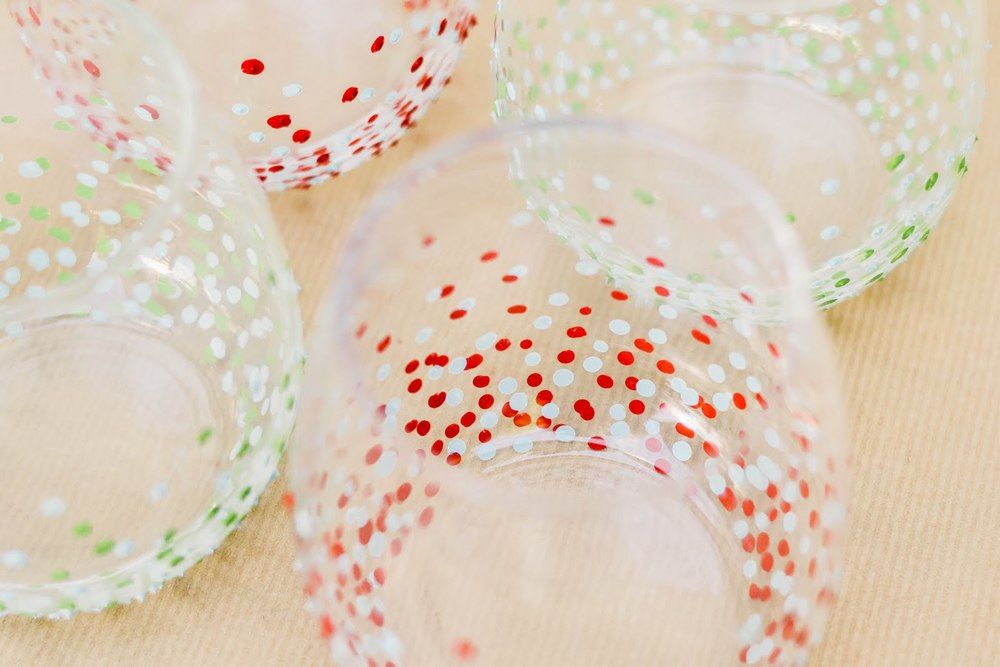
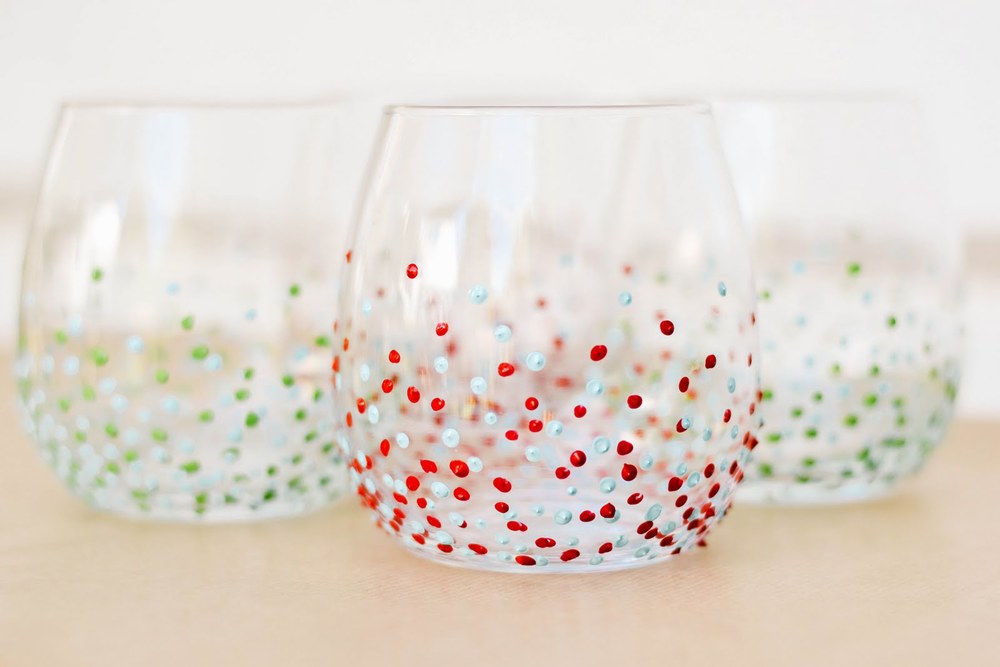
Now I've had the idea for these glasses, as well as all the materials for them, for an embarrassingly long time.  As in, months and months.  I have no clue what took me so long to get my act together, but I'm so glad I FINALLY did.  These babies are so easy, and I love how they turned out!

I'm totally in love with basically everything from Anthropolgie....especially their kitchen stuff.  The only thing that keeps me from going on a crazy shopping spree every time I enter their store is the prices.
Yeahh....their prices are not always pretty, as was the case with these cups.  I saw a couple of other diys kicking around pinterest, and decided that I would give it a go as well!


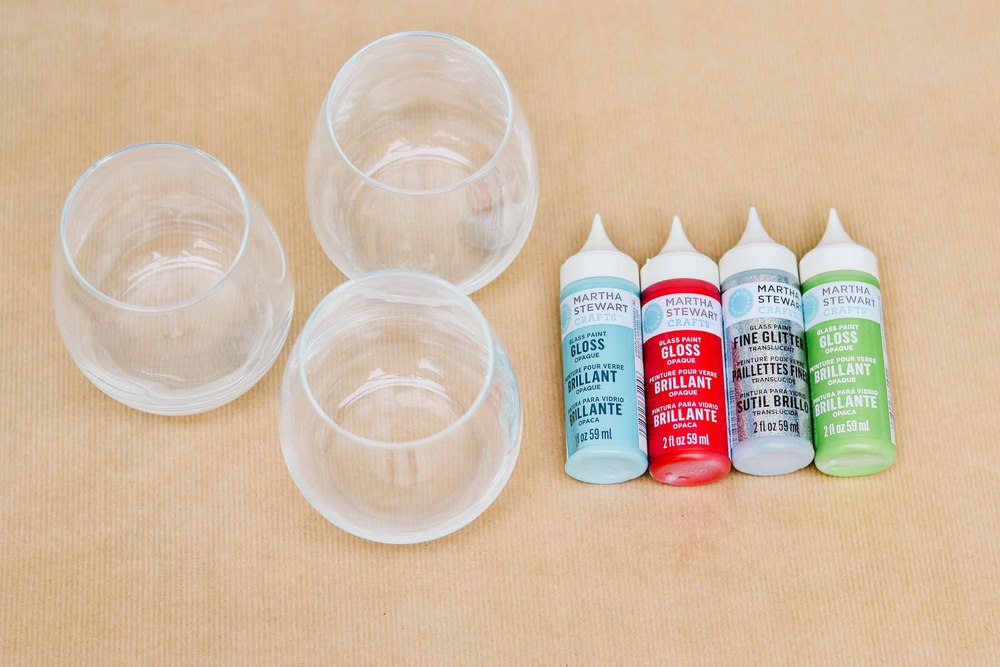
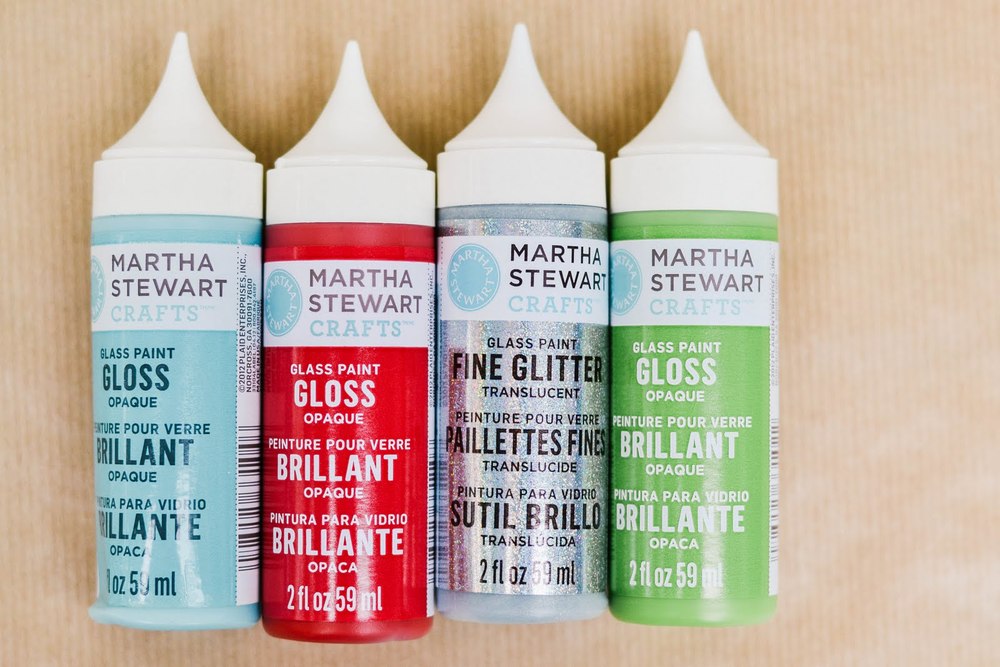
All you need are cups and paint!  I used paint that was specifically made for glass, as I've heard from several different people that this works better than using any old paint with a sealant, and it worked like a dream!

Materials:
-glass cups
-glass paint

Directions: 
First I cleaned my cups with rubbing alcohol to ensure I had a good surface for the paint to grab onto.
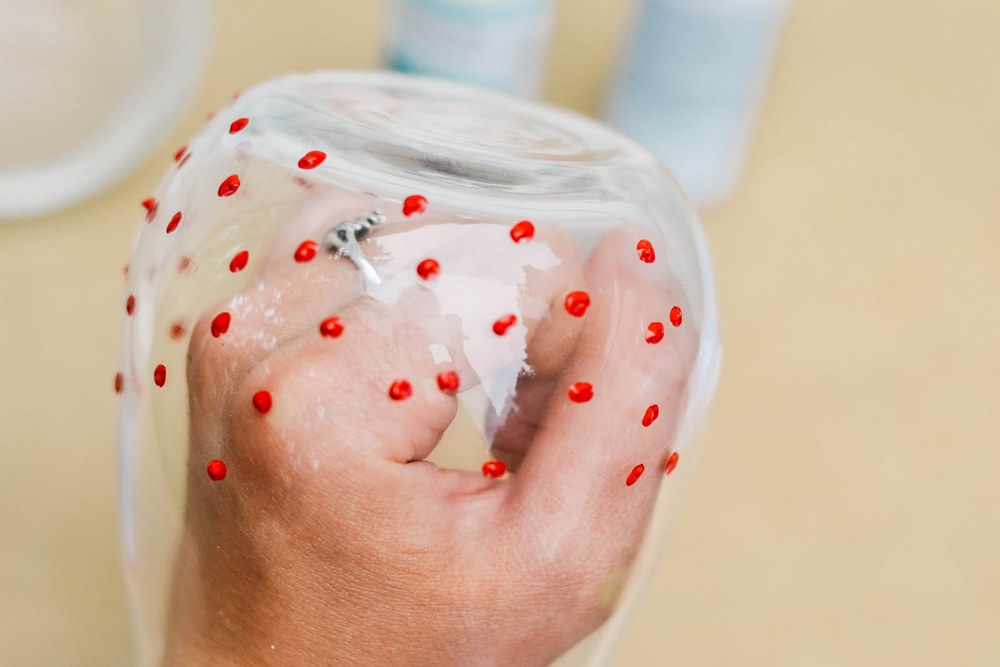
I used Martha Stewart glass paints, and the applicator made it so easy to just go crazy on the cups. (You can always pour a bit of the paint out, and use a brush instead if you'd rather a slightly more "messy" look).
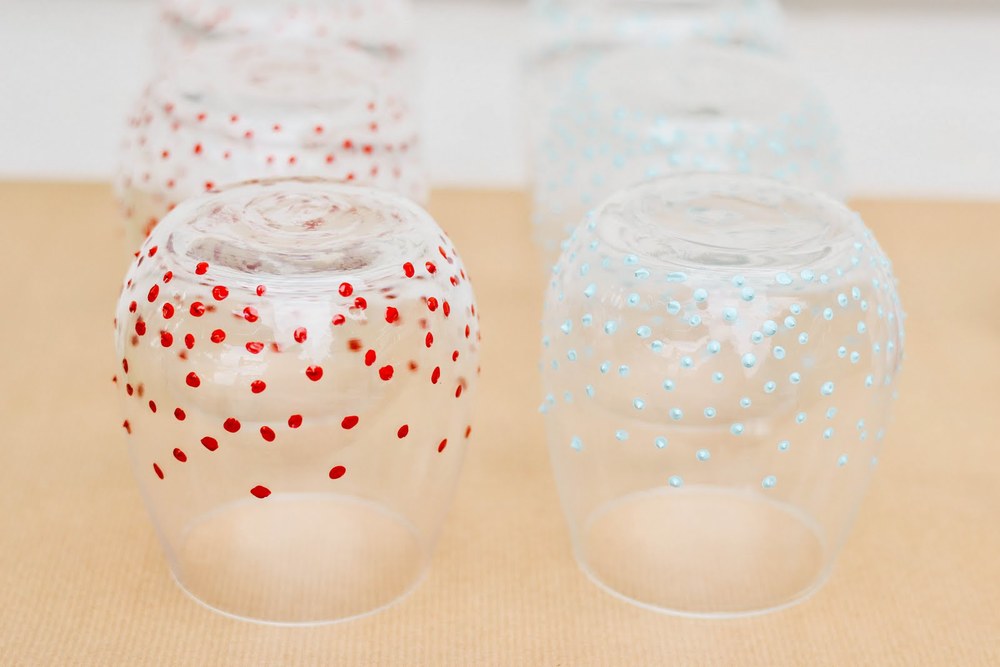
I painted one colour at a time, and let it completely dry before doing a second, and third coat.  Each time layering the dots over each other!
Then, you can either let your cups "air cure" for 21 days, or follow the instructions on the paint bottles to bake them in the oven!

Update: While the Martha Stewart paint says that it's dishwasher safe, I would stick with handwashing them!


There you have it!  Super cute cups that you can make without breaking the bank.  
I have dubbed these my party cups, and can't wait to break them out during my next get-together!

p.s.   kelsey