almond topped caramel graham cracker bark

Let the Christmas baking begin!  I'm excited to be sharing a few Christmas-y recipes in the next few weeks, and you can always browse through my archives for some more Christmas classics!

We make several different types of bark every year for Christmas, including cranberry almond, peppermint bark, and (my favourite) toffee pretzel bark.  If you do decide to check out some of the other bark recipes I've linked here, please have a good laugh at some of my old photos.  Oh my!  

What I love about bark is that it is so stinkin' easy and so delicious!  Seriously, you just throw a few things together, and bam...you're done!  And it looks like you did way more work than you actually did.  That's called a win win situation folks.


almond topped caramel graham wafer bark

recipe: slightly adapted from: Jean Pare - Holiday Entertaining

Directions:

1)  Grease a 10x15 inch cookie sheet with graham crackers.  You might need to cut some of them in half or in quarters to fill in the edges.  
*If there are any gaps between the crackers and the edge of the pan, the caramel will run off!

2)  Sprinkle half of your almonds evenly over the crackers, and set aside.

3)  In a medium saucepan, melt together your butter and brown sugar.

4)  Bring mixture to  a boil, and cook for 3 minutes.

5)  Immediately (and gently) pour your caramel mixture over the crackers.  The caramel doesn't have to be quite even over the crackers, as it will magically even out while it bakes in the oven!

6) Sprinkle the rest of your almonds over the caramel.

7)  Bake at 350 degrees for 7 minutes.  Remove and allow to cool.

8)  Carefully heat up each of your chocolates (separately).  I just did them in the microwave and stirred them often as they can burn easily.   

9)  Place each kind of chocolate in a small ziplock bag, cut a very small hole in one corner of each, and drizzle each chocolate over the bark.

10)  Allow the chocolate to set before cutting.  Then serve!

*These freeze well!  So you can pop some in your freezer and pull them out as needed.

Ingredients:

Graham crackers (soda crackers work well too!)

1 cup butter

3/4 cup brown sugar

1/2 cup slivered almonds

1/4 cup white chocolate melting wafers

1/4 cup dark/milk chocolate melting wafers


Also, please don't judge me on the recipe title.  It was a real struggle.  I really wanted it to be descriptive, and then just ended up describing exactly what it was.... #foodbloggerproblems

Anywho...Happy Thanksgiving to all you Americans out there, and Happy Thursday to the rest of the world!

-Kels

chocolate pecan caramel thumbprint cookies

Mmmhhh....caramel!  You can't say that you're surprised that it's shown up again so soon. Ha!

We made these cookies for Christmas (yeah yeah...I'm working on the whole procrastinating thing), and they were a huge hit.  Definitely a bit more work than your average cookie...but well worth it when you want something extra special.

These cookies have so many wonderful textures going on...from the crunch of the nuts, chewiness of the chocolate cookie, and finally the smooth creaminess of the caramel!

Chocolate Pecan Caramel Thumbprint Cookies

adapted from: taste of home

Yields: ~2.5 dozen

Ingredients: 

1/2 cup butter, softened

2/3 cup sugar

1 egg, separated

2 tablespoons milk

1 teaspoon vanilla extract

1 cup all-purpose flour

1/3 cup cocoa powder

1/4 teaspoon salt

1 cup finely chopped pecans (walnuts would be a great alternative!)

FILLING:

12 to 14 caramels

3 tablespoons heavy whipping cream

Directions:

1)  Preheat oven to 350 degrees.

2)  In a large bowl, cream the butter and sugar until light and fluffy.

3)  Beat in the egg yolk, milk and vanilla.

4)  In a small bowl, mix together the flour, cocoa powder and salt.  Gradually add to the creamed mixture.

5)  Shape dough into approximately 1-inch balls.  Place egg white in a shallow bowl and beat.  Place chopped pecans in another shallow bowl.

6)  Dip dough balls into the egg white, then pecans.  (You may need to pat the pecans on to help them stick to the dough)

7)  Place on a greased baking sheet and press a deep indentation into each dough ball.  (We used a measuring spoon, which worked well!  Your thumb would also be a good option...haha).

8)  Bake for 10-12 minutes or until set.  As soon as you remove from the oven, re-press your indentations to make sure they're deep.

9)  In a medium saucepan, melt caramels with cream on low and stir until smooth.

10)  Fill each cookie with the caramel mixture and allow caramel to cool and set. (Work as fast as possible here as the caramel tends to set very quickly.)

p.s.

 ♥ kelsey

Christmas baking: turtle bars

So here I am, more than halfway through December, about to start blogging about Christmas desserts.  Better a late than never, eh?

These turtle bars look beautiful on a plate of Christmas baking, and are a sure way to impress your friends, family, or maybe if even your boss! Ha!

Seriously, just look at those swirls.  I'm totally in love.  Plus, there's chocolate, pecans and caramel involved. Oh yum.

Turtle Bars

Bottom Layer:

1 cup Butter (room temperature)

3/4 cup of brown sugar

1 egg yolk

1 tsp vanilla

2 cups of flour

1/4 tsp salt

3/4 cup pecans

Directions:

1)  In a medium bowl, mix together butter, brown sugar, egg, and vanilla.

2)  Mix in flour and salt.

3) Grease a 9x13 pan and line with parchment (this makes removing and cutting your bars way easier).

5)  Dump your crumbs into the pan, spread out evenly, and press down gently.

6) Press pecans lightly into crust.

7) Bake at 350 degrees for 18 minutes, or until crust is lightly browned.

8) Let cool, and prepare caramel.

Caramel:

1 cup brown sugar

1 cup butter

1 cup sweetened condensed milk

4 tbsp corn syrup

Directions:

1)  In a large saucepan stir together brown sugar, butter, sweetened condensed milk and corn syrup.

2)  Cook on medium-high heat stirring constantly.  Boil for 4 minutes.

3) Let stand 2 minutes, and then pour over crust.

4) Place in the fridge to set.

Chocolate layer:

1 1/2 cups Chocolate (good quality)

1/2 cup whipping cream

White chocolate:

1/2 cup  (about 4 oz) White Chocolate - good quality

2 tbsp whipping cream

Directions:

1) In a small sauce pan (or a double boiler), melt down your chocolate and cream, watching carefully to make sure it doesn't burn.  Melt your white chocolate and whipping cream at the same time.

2)  Pour chocolate over the caramel layer.  Smooth evenly.

3)  Drop spoonfuls of white chocolate over this layer, and then run a knife through it to make swirls.  Starting from the middle of the white chocolate and spiraling seemed to have good results.

*One tip about marbling is to stop early!  It's easy to overdo it, and then it just looks messy.

4) Pop it in your fridge to let it set, and you're ready to go!  We store ours in the fridge/freezer, otherwise they get a bit soft.

Your crumbs might be a bit crumbly when you dump them in your pan.  Don't panic, that's completely normal, just press them in gently and they'll be fine.

We placed our white chocolate on in 6 equally spaced blobs, and then used a butter knife to swirl them around.  Be careful not to go too deep and hit the caramel layer.

Happy baking!

p.s.

 ♥ kelsey

tasty tuesday: caramel apples

Caramel apples are just one of those classic Fall foods that I honestly can't get enough of.  We always sell them during September and October during our apple festivals on the farm, so I'm spoiled with a steady supply of them.  A farm down the road makes them for us, using our own apples, and they are so wonderful.  Due to this, I had never actually made my own caramel apples from scratch!

I can now cross that off my bucket list though, because these beauts were completely homemade.  Not even halfway homemade with store-bought caramels. No way.  Although the ingredient list might make your teeth hurt by just looking at it.....hehe.  I will tell you that these are hands down the best caramel apples I've eaten!  The only thing that is keeping me from making them every day is because they take quite a bit of patience for your caramel to reach the right temperature.  And if you know me....you'll know that patience is one of my strong suits.  Ha!

This caramel has a beautiful colour, and is so creamy and rich.  It went so well with the tart Elstar apples that it covered, and made many mouths quite happy.  The extra caramel was used for dipping apples in over the next couple of days....and we also made some homemade turtles with it.  Delish.


Caramel Apples

recipe from:Sprinkle Bakes

Ingredients:

12 small/medium tart apples (I used Elstar apples)

popsicle sticks (I used cake pop sticks, which got a bit soggy and then weren't quite strong enough!)

1 can sweetened condensed milk

2/3 cup heavy whipping cream

1 cup light corn syrup

1 cup brown sugar, lightly packed

1 cup white sugar

1/2 cup butter

1 tsp vanilla extract

*you will need a candy thermometer for this recipe!

Directions:

1)  First, place a large sheet of parchment or wax paper on a work surface that will be able to hold all of your apples without them touching each other.  Set aside.

2)  Clean and dry your apples (the caramel won't stick if they're wet at all!).  Remove the apple stems, and punch a guide hole for your stick using a metal skewer or skinny knife.  Insert stick into each apple, and make sure it's secure.

3)  For the caramel: in a 4-cup liquid measuring cup, stir together the sweetened condensed milk and heavy cream.  Set aside.

4)  In a large pot, combine corn syrup, brown sugar, and white sugar.  Bring to a simmer over high heat.  When the mixture boils, add the butter.  Stir until the butter is melted, and reduce the heat to medium-high.

5)  Add milk mixture in a small steady stream, whisking continually.  You want the caramel to keep boiling slightly.

6)  Reduce heat to medium, and attach a candy thermometer to your pot.  Be careful that the candy thermometer does not touch the bottom of your pot, as it will give you a false temperature reading.

7)  Bring to 250 degrees F.  This will take approximately 15 minutes or so.  So be patient!

8)  Remove from heat and stir in vanilla extract.

9)  Wait until the bubbling stops, and the caramel has a smooth glassy surface.  Tilt pan slightly so that caramel is deeper on one side, and start dipping apples.  Cover apples completely in caramel, and twirl and gently tap the stick on the side of the pot to help excess caramel drip off.  Place on parchment to set for about an hour.  Serve and enjoy!

[Optional]: Immediately after dipping, roll your apple in chopped nuts, chocolate, skor bits, coconut, etc.

Keep extras in the fridge until you're ready to eat them!

You may have noticed the mini caramel apples in a few of these pictures.  We used a melon baller to carve out some mini apple balls for dipping.  While this idea was great in theory, they ended up being a bit too wet, and the caramel slid off most of them.  Sad day.

My favorite combo of flavors was definitely the pretzel covered apples.  Sweet and salty will always get me.  The extra crunch from the pretzels was also a lovely addition!

So, be creative and make these yummy treats!


♥ kelsey

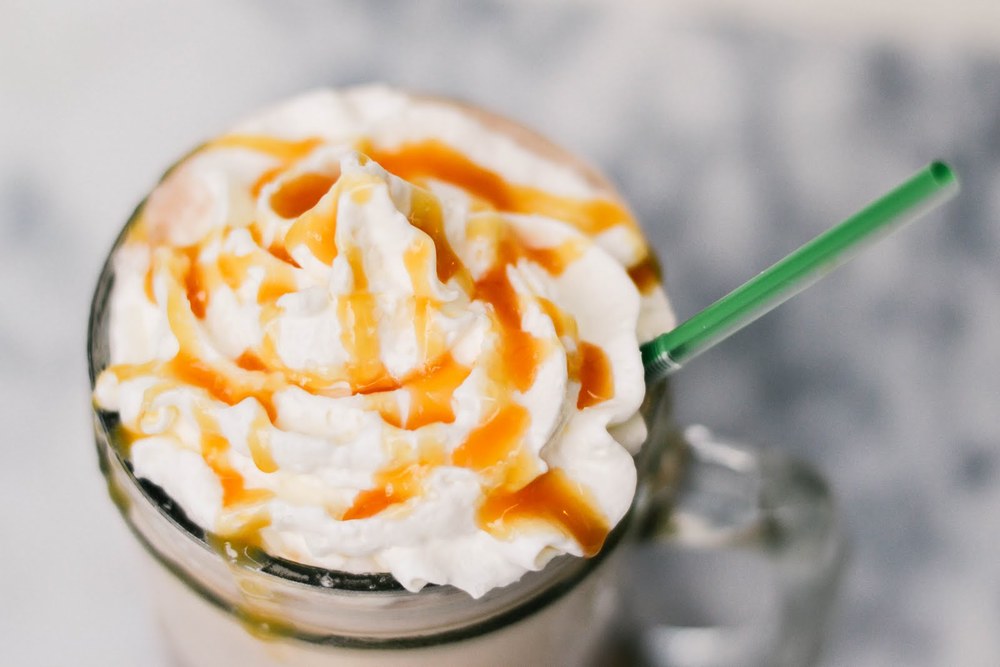
thirsty thursday: frappuccino for one


So...yeah.  It seems like everyone is a teensy bit (ok...maybe super duper) excited about all of the Starbucks seasonal drinks that are finally back!!  I am no different, and have totally been obsessing over the fact that I can order a salted caramel frapp/mocha/hot chocolate again.  
Seriously, it's the best flavor.

Anyways, that's not the point of this post.  The point is that you can make your own frapps at home.  And for a lot cheaper.  So....while I definitely still splurge on Starbucks once in a while, I know I can always get my frapp fix by whipping up my own.

Plus, this way you don't even have to leave the house.  Win win, eh?


Frappuccino for One:
Ingredients:
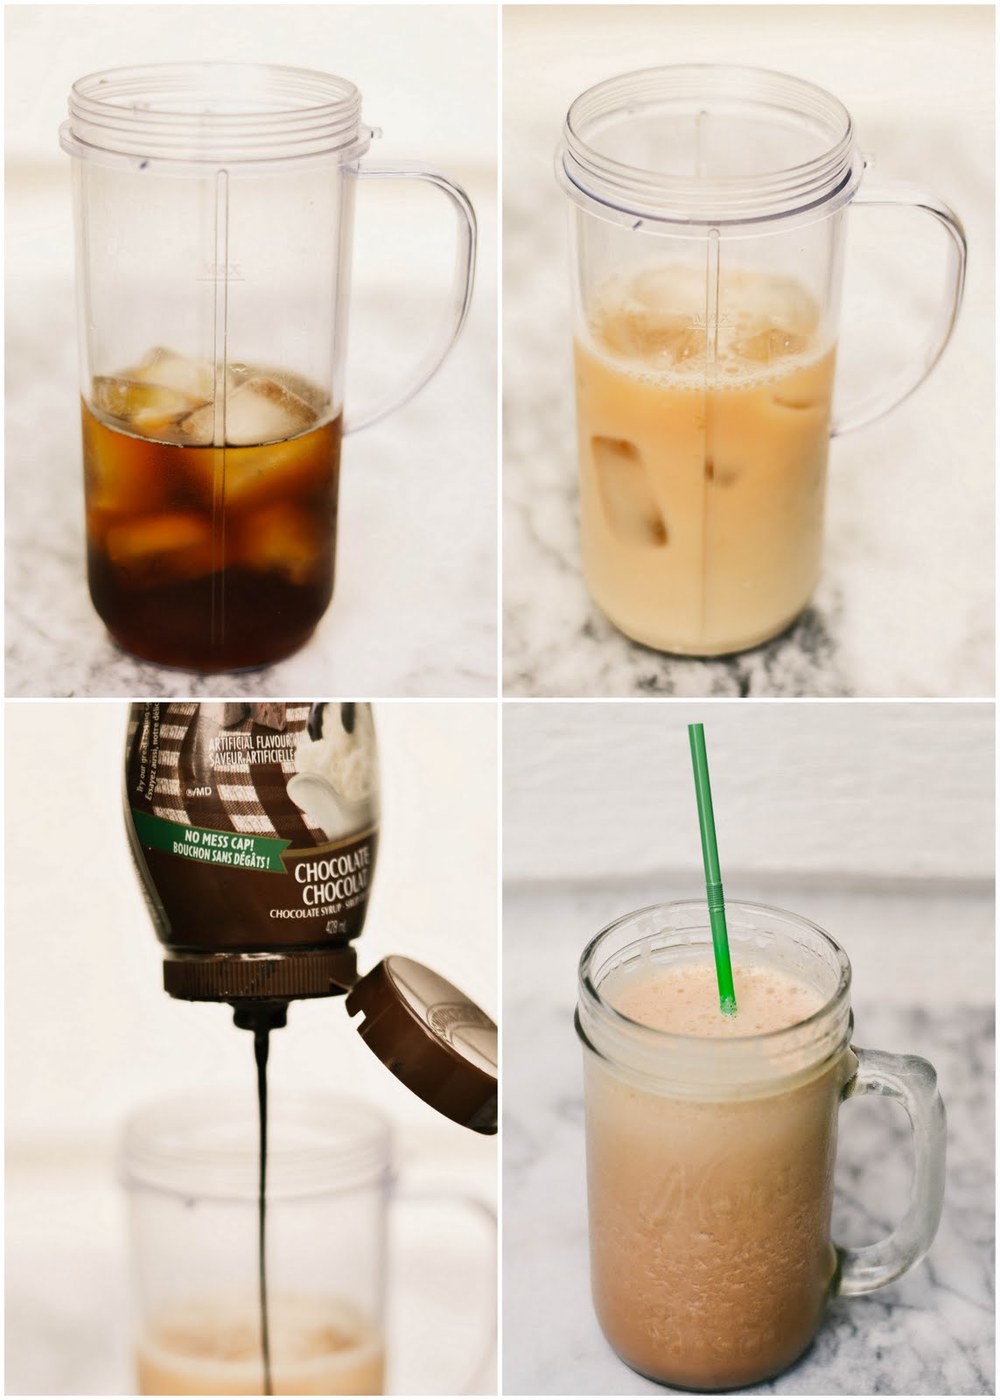
1/3 cup very strong coffee (or espresso if you're hardcore!) - chilled
1/2 cup milk
1 tbsp sugar
6ish ice cubes
{a pinch of xanthan gum to keep it from separating!)

Mocha Frapp: 1 1/2 tbsp chocolate syrup

Caramel Frapp: 1 1/2 tbsp caramel syrup

Mocha Caramel Frapp: 1 tbsp chocolate syrup
                                     1 tbsp caramel syrup

Directions: 
Place all ingredients in a blender (we used our magic bullet and it worked just fine!), and blend until smooth.  I found that doing shorter pulses worked the best!

Optional: Top with whipped cream, caramel drizzle (and salt of course!), chocolate drizzle, or whatever suits your fancy!

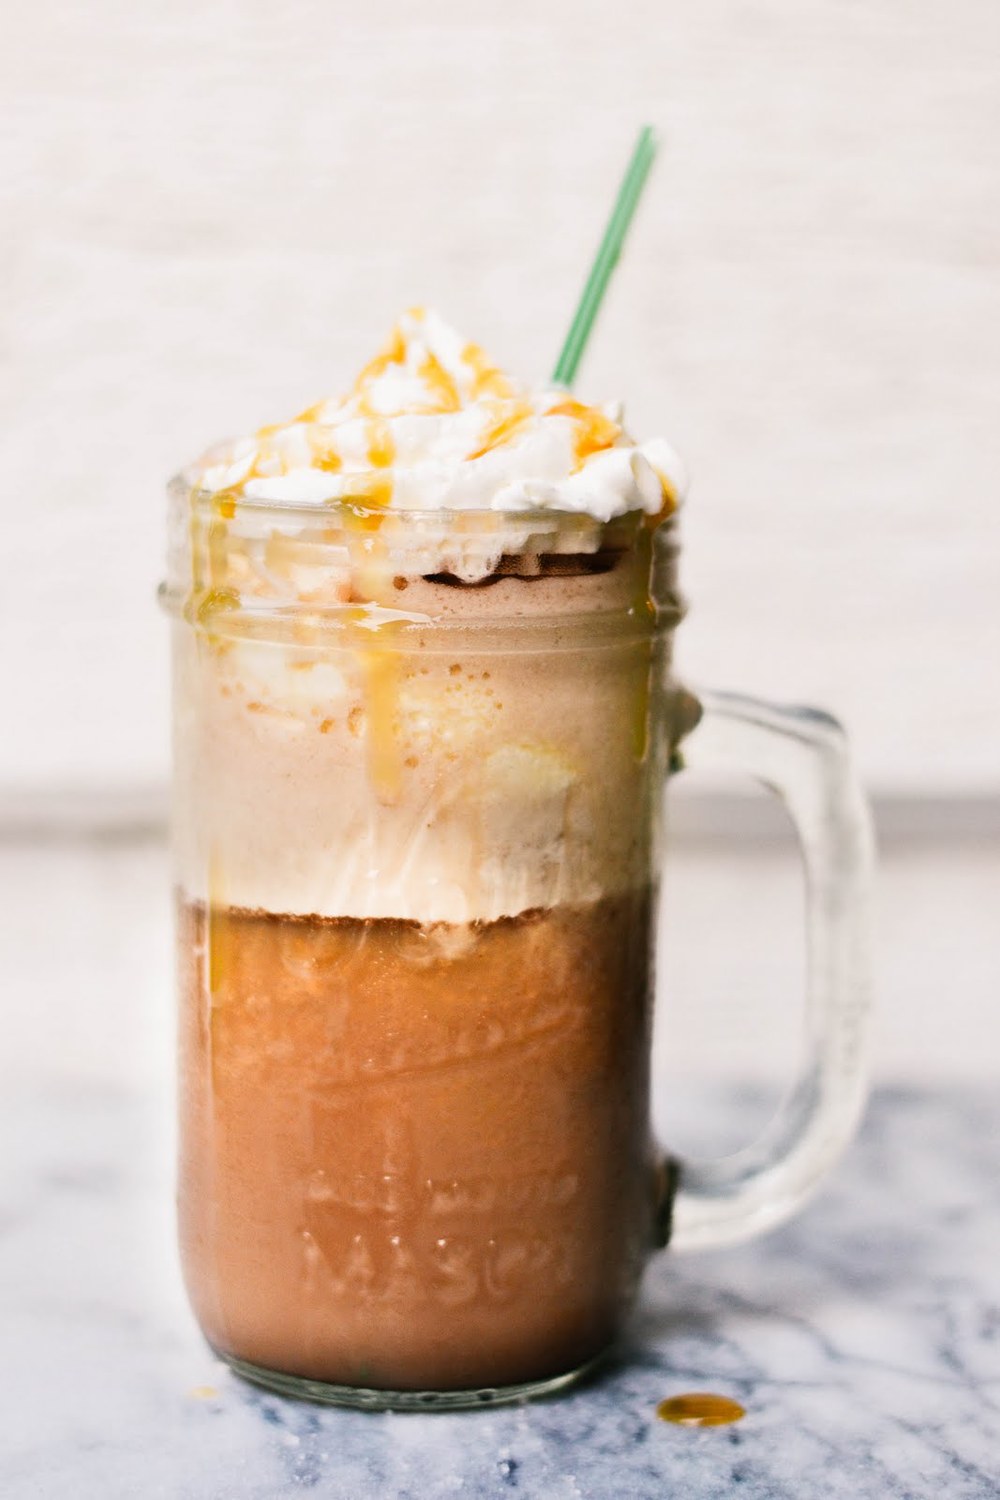
Note: Your frapp will tend to separate fairly quickly, so don't be alarmed!  Just stir as you drink....or you can pull a starbucks and add a pinch of xanthan gum to help it stay together!


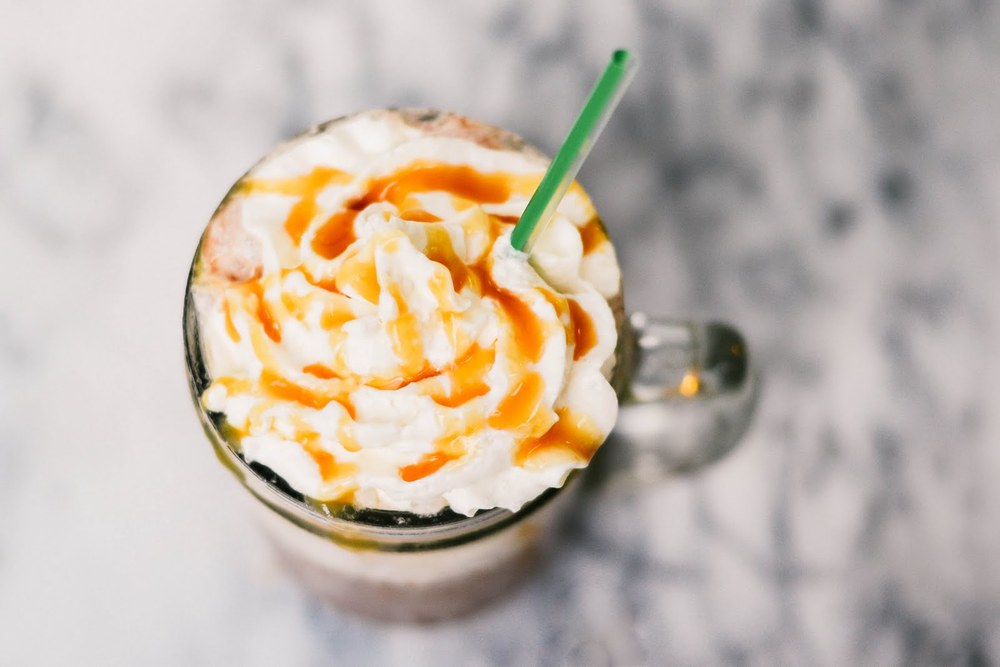
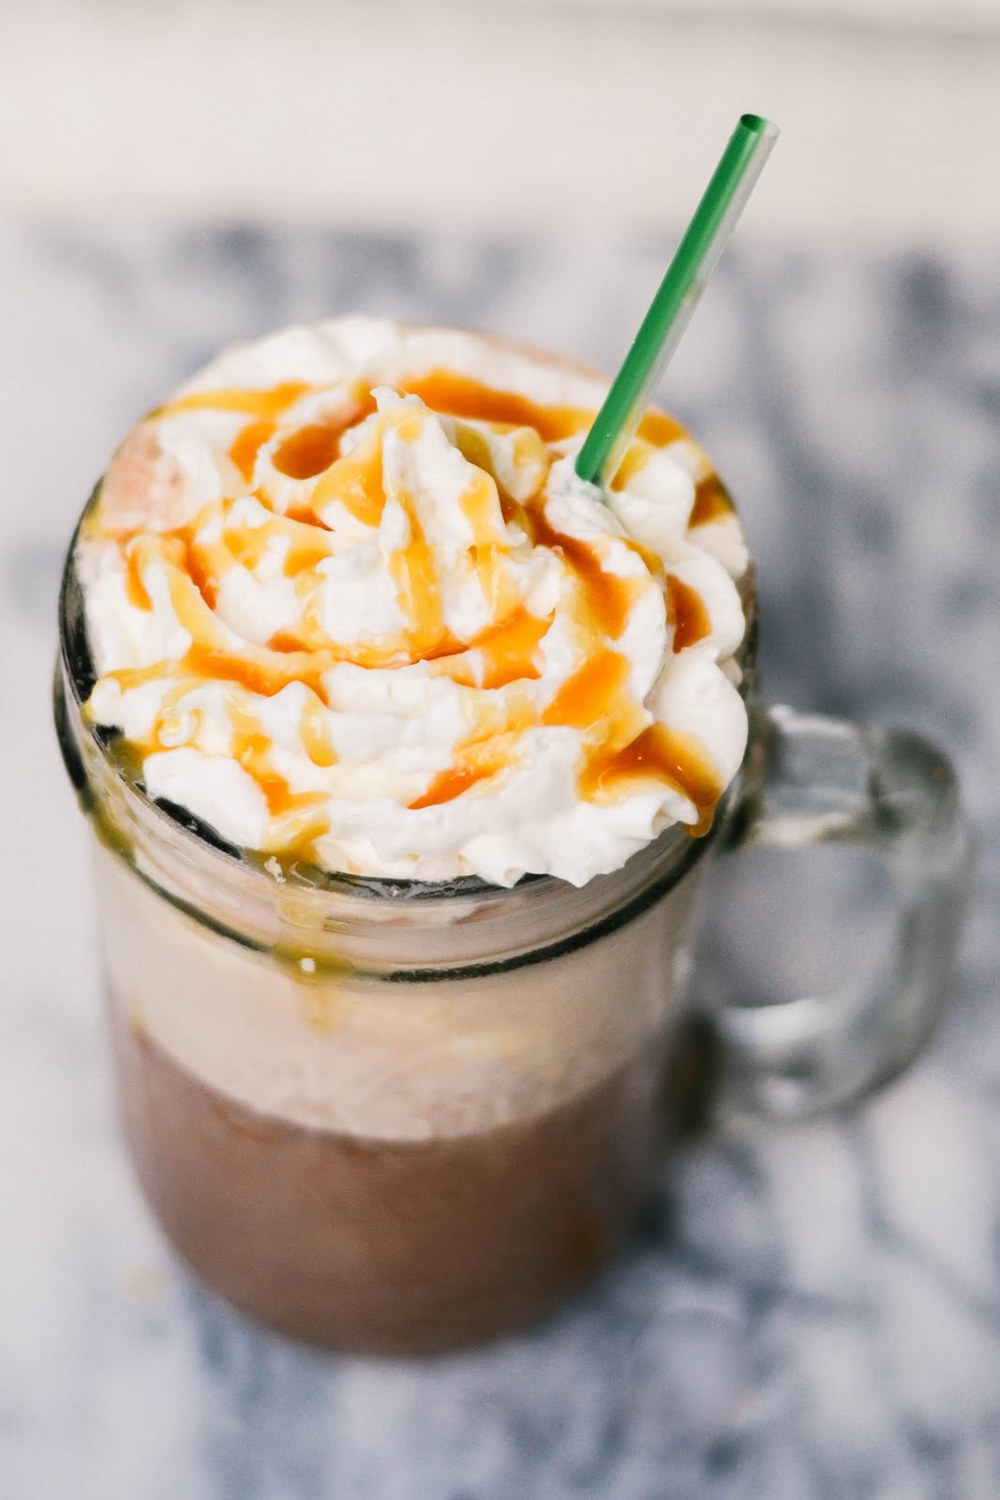
As you can clearly see in these photos....I did not have xanthan gum on hand, therefore my frapp separated while I farted around taking photos.  Oh dear.  #foodphotographerproblems


Obviously I topped this one with salt and caramel...haha.  Did you expect anything less of me?

This recipe will change you life!  And your wallet will thank you. 
Now go on, make one for yourself!

p.s.   kelsey

tasty tuesday: salted caramel ice cream

So....remember when I said that I kind of am totally and completely obsessed with salted caramel?  Yeah, well I couldn't stay away from it for long, so I now present you with our homemade salted caramel ice cream!  I think Jordyn and I both were astonished at how well this turned out, and we both agreed that it was potentially the best ice cream we've ever had in our whole lives.  So yeah.

Also, you have to eat it with pretzels.  That's the rule!  You won't regret, I promise.  We crushed up pretzels to serve with it, and they add just the perfect salty crunch!  Seriously, it's the best.

Salted Caramel Ice Cream

Ingredients:

4 eggs

2 cups sugar

4 cups milk 

5 cups whipping cream

1/2 tsp salt

1 Tbsp Vanilla

1/2 tsp Caramel flavoring

1/4 cup of caramel (we used homemade, but store-boughten  would be fine)

1/4 cup Skor bits

Approximately 1/2 cup of caramel for swirling into ice cream once it's done.

*Ice and coarse salt - this will be needed for the ice cream maker

Directions:

1)  Beat eggs in a large bowl.

2)  Gradually incorporate sugar.

3)  Add the rest of the ingredients, including 1/4 cup of caramel and mix well.

4)  Place mixture in the barrel of your ice cream maker, and follow manufacturer's instructions.  This will include layering ice and salt around the edges of the ice cream maker.  Ours called for about 2 inches of ice, and then 1/2 cup of salt, repeated until the ice reached the top of the maker.  Then we attached the motor, and let it run for about 40 mins.  We added more ice about half way through.  On our machine you know the ice cream is finished when the motor stops running.  Yours may be different!

5)  Once the ice cream was done, we swirled the rest of the caramel into the ice cream, as well as some Skor bits for some added crunch!

6)  Serve with pretzels! (I'm dead serious...this is not optional!)

{Optional}: Homemade Caramel

1/2 cup Sugar

3 TBSP Butter (we used salted butter!)

1/4 cup Whipping Cream

1)  The most important thing to do first is to assemble all of your ingredients!  Once your sugar mixture has reached the right colour, you'll need to move fairly quickly, and don't want to be fussing around with measuring out the other ingredients.

2)  Place your sugar in a medium saucepan, and melt at a medium heat.  Once it begins to melt, you'll want to start whisking it. (You can also add a tad of water if you don't feel comfortable melting dry sugar!).

3)  Once the sugar starts to boil, you can stop whisking, and wait for it to turn a light amber colour.

4)  When it's light amber, then add your butter, and stir like crazy!

5)  As soon as the butter has completely melted, remove from heat and add the whipping cream.  Again, stir like crazy! (Be cautious when adding the cream as it will foam a lot!)

6)  Let the caramel cool for a bit, and then you can move it to a heat proof container and pop it in the fridge to help hurry up the cooling process.

Also, did I mention that as soon as this ice cream was done, Jordyn and I may or may not have stood around and dipped pretzels into it for a good ten minutes.  True story.

-kelsey (and jordyn)