lemon layer dessert // a guest blog over at sift and whisk


Hello friends!  A couple months ago we were asked to be a guest blogger for Sift and Whisk while she was on maternity leave...and were so excited that she reached out to us!  We chose to make a lemon layer dessert, which we think is so perfect for Summer.

Hop on over to Sift and Whisk for the full recipe!


p.s.   kelsey

Christmas baking: cranberry almond bark

We really really love bark in our house (

as you may remember:

peppermint bark

,

coconut bark

,

toffee pretzel bark

.

).  Maybe because sometimes we're a little bit lazy, and maybe because it just tastes so darn good!

The toasted almonds and dried cranberries are such perfect flavors for winter, and we always make some for Christmas!  But honestly, there is no right or wrong time to make this bark.

p.s. Christmas is in 3 days....say what?

I'd just like to recommend you bringing this bark to the next party, family gathering, dinner, or potluck you go to.  So simple, but it looks so fancy.  Impress your friends, co-workers, boss, or in-laws.  They'll love you for sure!

(I'm so not ashamed to bribe people with food....a girl's gotta do what a girl's gotta do, right?)

Cranberry Almond Bark

Ingredients:

1/3 cup slivered almonds (blanched)

1/2 pound milk chocolate, chopped

1/2 cup dried cranberries

1 oz white chocolate

Directions:

1)  Spread your almonds out on a baking sheet, and bake at 350 degrees for about 8 minutes, or until toasted, and set aside.

2)  Melt milk chocolate in a double boiler.

3)  Remove chocolate from heat, an stir in almonds and dried cranberries.

4)  Pour onto a baking sheet lined with wax paper or parchment paper.  Spread evenly to about 1/4" thickness.

5)  Melt white chocolate in double boiler.

6)  Drizzle white chocolate over milk chocolate before the milk chocolate has set, and use a fork to swirl designs in the white chocolate.

7)  Refrigerate until firm.  Break up into pieces and store in an airtight container in the fridge or freezer until ready to serve.

p.s.

 ♥ kelsey

Christmas baking: triple chocolate shortbread cookies

Soooo much chocolate.  We've come to the realization that nearly all of our Christmas treat have chocolate in them....and we're totally okay with that!  These triple chocolate shortbread cookies have been my all-time favorite for many Christmases now, and are still going strong.  The shortbread is chocolate, there are mini chocolate chips inside, and then they're dipped and drizzled in chocolate to make them pretty.  So...if you're not a fan of chocolate, these aren't for you!

But let's be real here.  Who isn't a fan of chocolate?

What I love most about these cookies is how the melt-in-your-mouth shortbread goes so well with the chocolate shell covering it.  It's oh so good!

Triple Chocolate Shortbread

Ingredients:

1 cup butter (softened)

1/2 cup icing sugar

1 1/2 tsp. vanilla

1 oz square of unsweetened semi-sweet chocolate [melted]  

2 1/4 cup flour

1 cup mini chocolate chips

Instructions:

1.  Mix together softened butter, icing sugar, vanilla and melted chocolate until smooth.

2. Add flour and chocolate chips and mix.

3. Roll dough into 1" balls (or whatever size preferred) and place onto a baking sheet.

4. Bake for 10 minutes at 375 degrees.

Decorating:

You can choose to dip these in any kind of chocolate you want; we usually dip ours twice (once in white and once in semi-sweet chocolate).  

Also, if you spoon a small amount of melted chocolate into a ziplock bag, you can drizzle a zig-zag pattern onto the top!  The drizzle looks the best when you cut the smallest hole you can in the ziplock.  Good luck!

Are you sick of Christmas baking yet?  I hope not.  We still have a few more Christmas-y recipes to share, so stay tuned!

p.s.

 ♥ kelsey

Christmas baking: toasted coconut shortbread

Why is toasted coconut so much better than regular coconut?

Like, it's ridiculous how good it is.  Toasting things is the way to go I guess.  It makes everything better.

Anyways, since we're both majorly into coconut, my mom and I made cookies with toasted coconut inside them, as well as on top!  So much wonderfully crunchy and delicious coconut.  If you're in a serious hurry, you can leave off the chocolate and extra coconut, but I'd advise against it.  You'd really be missing out.

These cookies were a new addition to our annual Christmas baking, and man are they a winner.  Our family always bakes up a giant storm of goodies in late November/early December since we love to give away plates of baking as presents.  We love it because we love baking, and our friends love it since we're not giving them stuff they don't really need!  Win win.

Toasted Coconut Shortbread

from: family circle magazine

yields: ~3 dozen

Ingredients:

1/2 cup sweetened flaked coconut

1 cup butter

1/4 cup icing sugar

1/4 sugar

2 1/4 cups all-purpose flour

1/4 tsp salt (only add this if your butter is unsalted)

for dipping:

chocolate (doesn't matter what kind)

extra toasted coconut

Directions:

1)  Spread out your coconut evenly on a cookie sheet and bake at 250 degrees until golden brown, about 10 minutes.  Keep an eye on it, and stir every couple of minutes, otherwise you'll burn it!  *You can add a bit more coconut to the pan if you're planning on doing the chocolate and coconut topping.

2)  Place the butter, coconut, and sugars in a medium bowl and mix well.

3)  Add flour and salt, and mix again.

4)  On a cookie sheet lined with parchment paper, form a 1-inch-diameter log and cover with plastic wrap tightly.  It can be hard to make the log completely round and not flat on the bottom, so just do your best.  Place in the fridge for an 1hr minimum, or up to two days.  (You can also freeze it for up to 2 months.

5)  Take your log out of the fridge and cut 1/4 to 1/2-inch slices and place them about 2 inches apart on a parchment lined cookie sheet.

6)  Bake at 350 degrees until cookies are just starting to brown on the edges, about 18-20 minutes.

7)  As the cookies are cooling, melt your chocolate for dipping either in the microwave (being extra careful not to burn it!), or by using a double-boiler on the stove.

8)  Dip the edge of your cookie in the chocolate, press into the extra toasted coconut and allow to set.

9)  Serve and enjoy!

Served with milk, these are perfection!

p.s.

 ♥ kelsey

moustache cake for movember


Hello friends and Happy Movember!

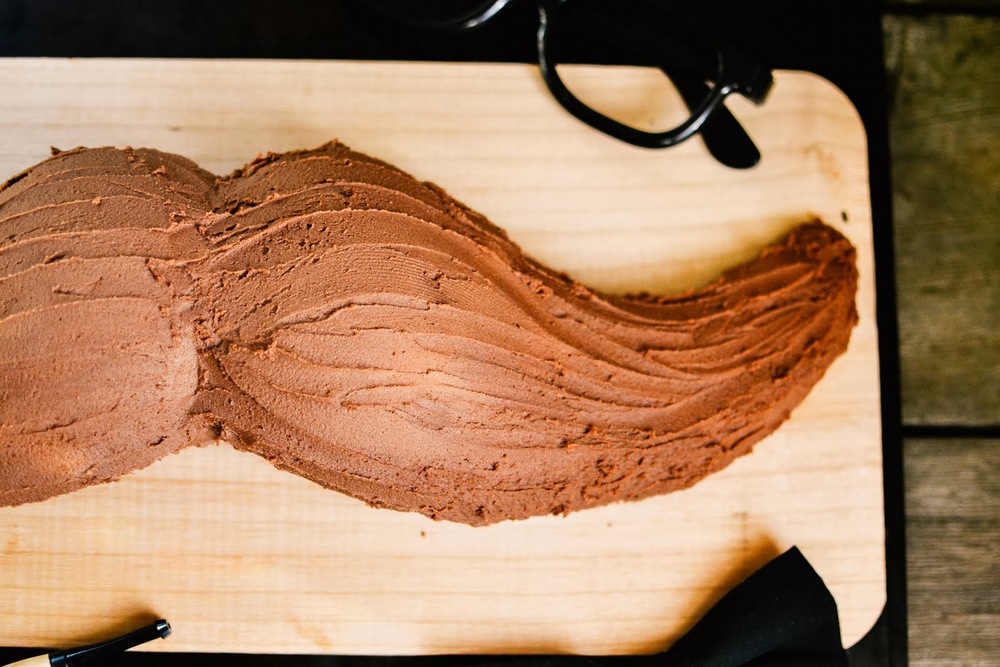
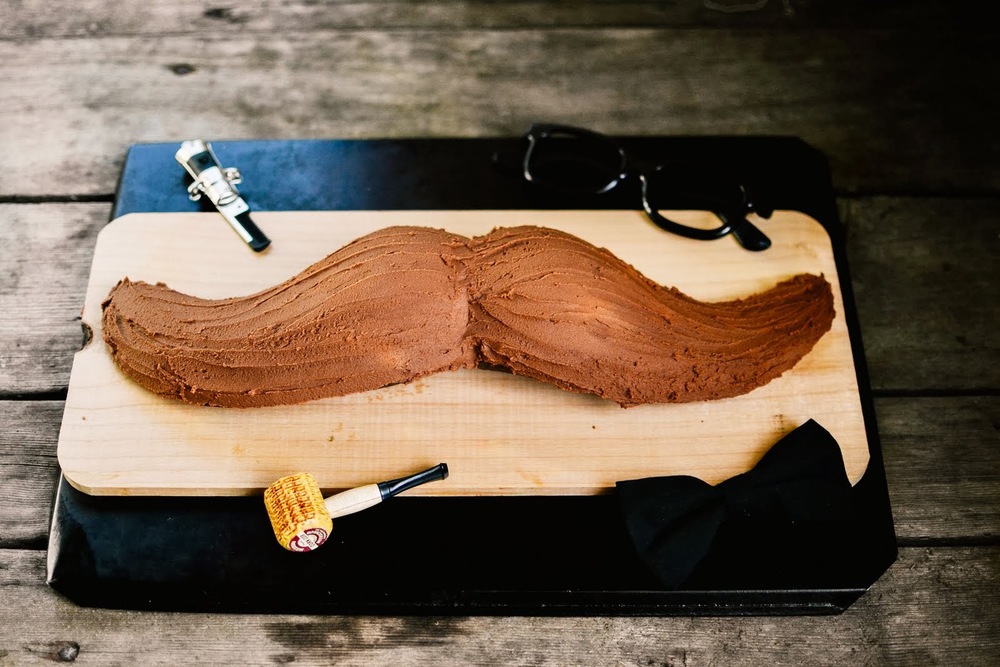
Since November is drawing to a close, hopefully you've seen some magnificent moustaches (although I won't lie, I've definitely seen my fair share of sketchy ones).  Jordyn and I made a cake to celebrate, and were pretty stoked about finally using our giant moustache mold!


Why yes, that is a moustache comb in the photo above.  Doesn't everyone have one?

Mocha Cake
from: the Food Network

Ingredients:
1 1/2 cups flour
1/2 cup cocoa
1 tsp baking powder
1/2 tsp baking soda
1/2 tsp salt
1 1/4 cups sugar
2 eggs
1 1/2 tsp vanilla
1/3 cup of strongly brewed coffee or espresso
3/4 cup vegetable oil
3/4 cup hot water

Directions:
1) In a large bowl, sift together dry ingredients.
2) Add in eggs, vanilla, coffee and oil, and mix until batter is smooth.
3) Slowly add in hot water, until well mixed.
4) Bake at 350 degrees for 15-20 minutes, or until a toothpick comes out clean.
*If you're using a mold like ours, be sure to keep checking on it.  We noticed the ends of the moustache cooked quite a bit faster than the middle.  So make sure to be checking if the fattest part of the cake is done!


We chose a chocolate butter cream to top our moustache, but you could definitely do a regular butter cream and make it any colour you desire!

Jordyn used a butter knife to spread the icing, and then made small grooves in it for a bit of texture.  We think that shaved chocolate would also be a neat idea!


Happy Movember!

p.s. ♥ kelsey & jordyn

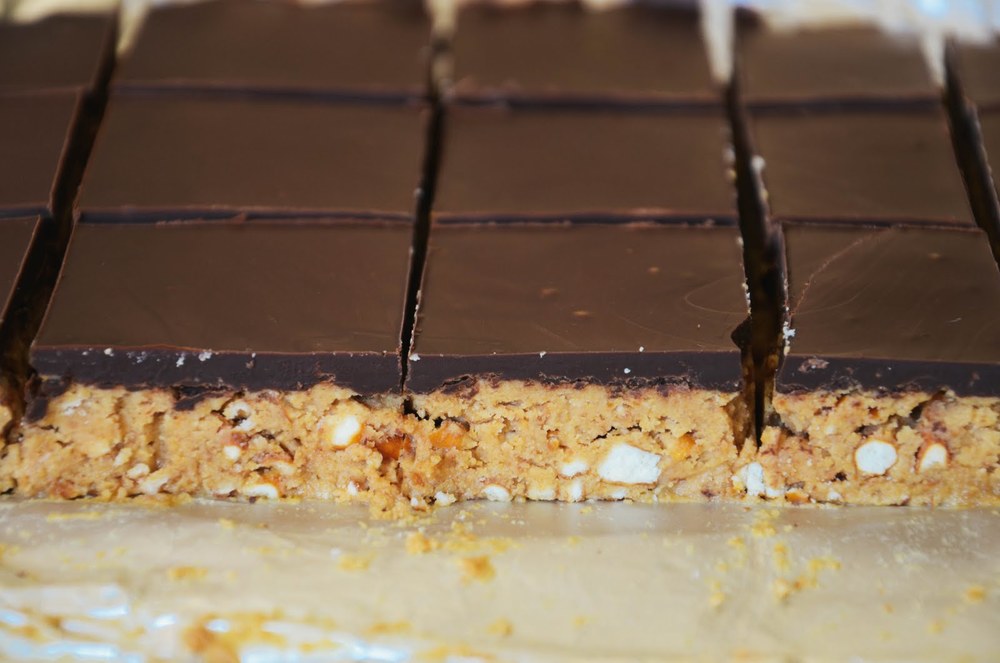
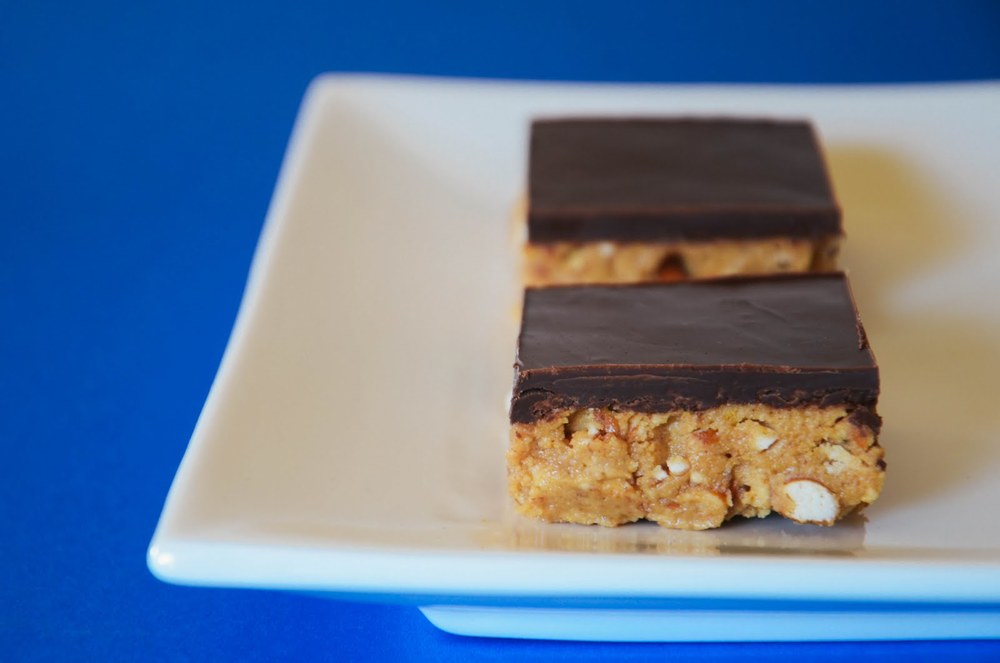
tasty tuesday: peanut butter pretzel bars


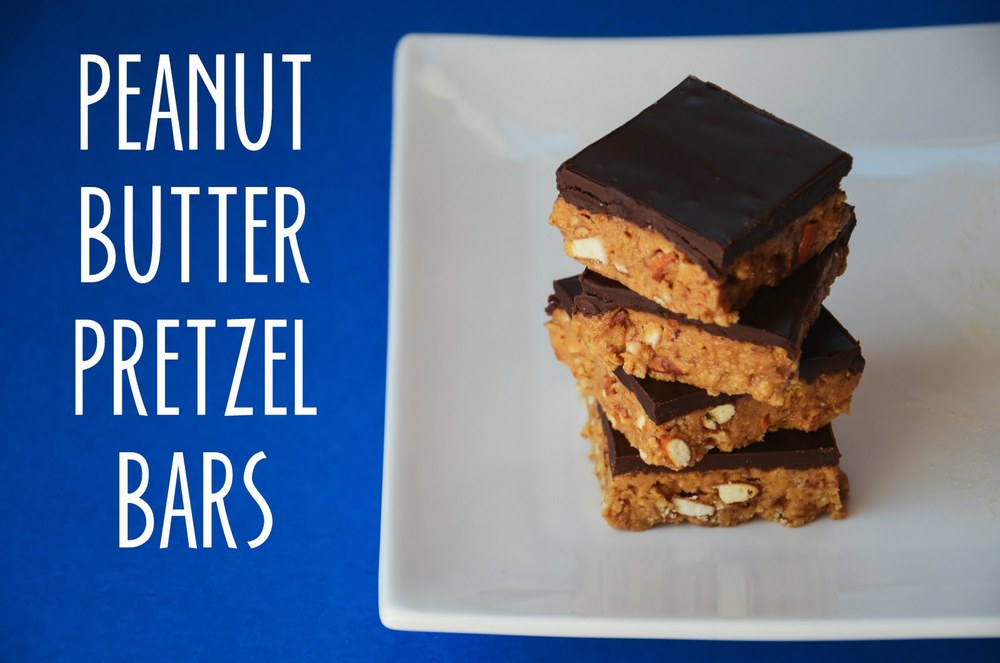
Remember the delicious Peanut Butter Bars I made in September?  Well they are back!  This time with a crunchy twist!


Peanut Butter Pretzel Bars
from:
Bakerlady

Ingredients:

Base:
1/4 cup melted butter
1 cup peanut butter
1/2 cup icing sugar
1 cup crushed pretzels (quite small, pea size crumbs)
1/2 cup graham cracker crumbs

Chocolate layer:
3/4 chocolate chips
2 Tbsp peanut butter

Directions:
1. Mix the butter, peanut butter and icing sugar in a medium bowl.  
2. Stir in the crushed pretzels and graham cracker crumbs.  
3. Press into a greased 8x8.  ( I lined mine with tin foil, so I could just lift it out and cut the bars!)
4. Chill for about half an hour.
5. Melt the chocolate chips and peanut butter together to make the topping.
6. When melted, spread evenly over the bottom layer.  Using an offset spatula works wonders, and if your chocolate is still a bit melty when you have finished spreading it, give your pan a bit of a shake, or gently bang it on a counter.  This will smooth out the chocolate even more.
7. Refrigerate for about an hour before serving.
8. Lift the bars out of the pan (with the tin foil).
9. Cut into squares!


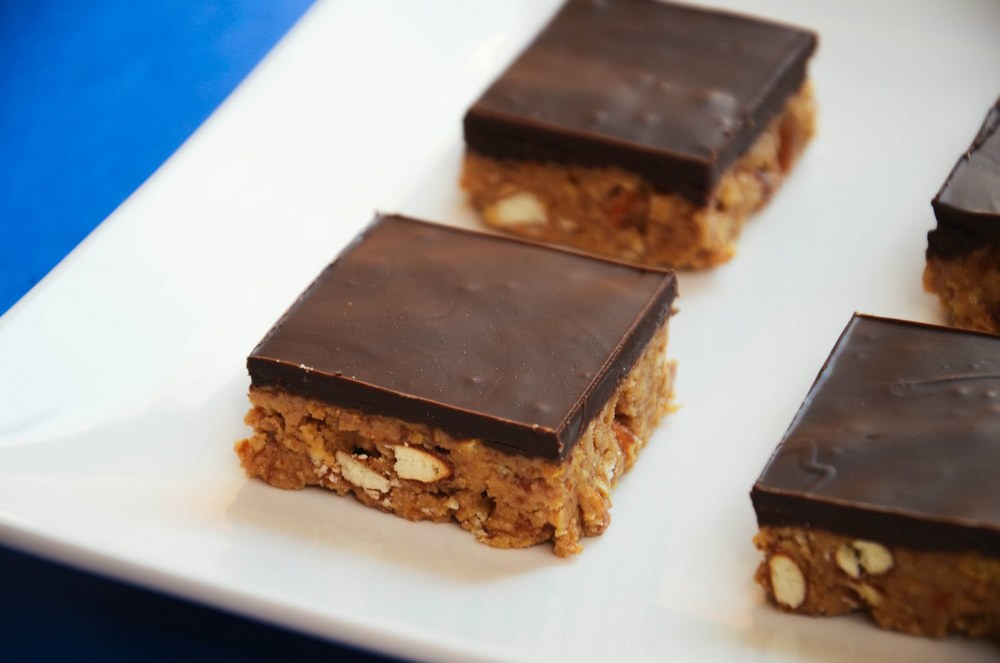
I didn't think these bars could get any better, but I was so wrong!  
The pretzels take these bars to a whole new level.  Like with my Salted Caramel Pretzel Cookies, adding pretzels to baking may seem a little weird at first.  But I promise you, one bite of these bad boys, and you will be sold!


So do you have a girls night coming up?  A book club meeting?  A family dinner?  A haircut?
Use any excuse you want, please just make these!!

p.s.   jordyn

mint nanaimo bars

It's your lucky day!  We decided we should make something festive for St. Patrick's Day...so here we present you with: mint nanaimo bars!  We thought adding a minty green twist to one of our favorite recipes would be the perfect St. Patty's Day treat.  And boy is it good!  Mint + chocolate is the bomb.

Now I've included the modified recipe for these minty bars, but check out the original post

here

for more basic tips and photos!

Nanaimo Bars

Bottom Layer:

1/2 cup butter [very soft]

2 tablespoons cocoa

1 teaspoon vanilla

1 cup unsweetened shredded coconut

5 tablespoons white sugar

1 tablespoon ground flax seed mixed with

3 tablespoon of water

2 cups graham wafer crumbs

Middle Layer:

4 tablespoons softened butter

3 tablespoons milk (or cream)

2 tablespoons vanilla custard powder

2 cups icing sugar

1/4 tsp mint extract (add more to taste if you really like your mint!)

green food colouring (I used gel, and it worked like a charm!)

Top Layer:

1 cup chocolate chips [or 6 baking squares]

1 tablespoon shortening

Instructions:

Step 1

1.  Place melted butter, cocoa, vanilla, sugar, and flax seed mixture in a bowl.  Stir mixture until creamy.

2.  Mix wafer crumbs and coconut into the cocoa mixture.  

3. Pack into an 8x8 pan.  I usually line the pan with parchment paper, and when I am ready to cut the bars, I just lift it out, and place it on a cutting board.

4.  Refrigerate until the bottom is solid (about 30 mins).

Step 2

5.  In a seperate bowl, mix butter, milk, custard powder, icing sugar, and mint extract together.  Add a bit of green food colouring until desired colour is achieved.  

6.  Spread over bottom layer.

Step 3

7.  Melt chocolate chips and shortening together either in a saucepan or in the microwave; be careful not to burn! The shortening will ensure that the chocolate layer isn't too solid, so it wont crack when cutting.

8.  Spread chocolate evenly over middle layer.

9.  Refrigerate for approximately 5 mins.  

Step 4

10.  Once the chocolate has begun to harden, I like to score it with my knife.  This makes it easier to cut after it has totally hardened. 

11.  Place nanaimo bars back in the fridge for at least 30 mins.

12.  Once they have completely hardened, lift the parchment out of the pan onto a cutting board, and using a large knife, cut the nanaimo bars all the way.

13.  Enjoy!

I love the pop of colour on these babies...and they're sure to be a hit at any party!

These would make a wonderful dessert no matter the occasion, and are a nice change from our original version!

Enjoy!  And Happy St. Patrick's Day!

p.s.

 ♥ kelsey

tasty tuesday: butter tarts

Today we're talking about butter tarts!  I know a lot of people (including my family) like to bake things that are either a bit finicky, or slightly more expensive as a treat around Christmas.  These tarts are perfect for family get-togethers, Christmas parties...or, let's be honest here, just because.

This dessert actually originated in Canada, and is a great combo of flaky pastry, and delicious caramely goodness!  For those of you who aren't huge raisin fans (cough cough, that's me)...you can always make them without, or keep some of the filling separate before adding them in.

Butter Tarts

Ingredients:

1 cup Raisins

2 Eggs

1 cup Sugar

1 tsp Vanilla

1/3 cup Butter

4 TBSP Cream (or half and half)

1/2 cup chopped Walnuts (or pecans make a nice substitution here as well!)

frozen tart shells (or your own homemade pastry shells)

Directions:

1)  First, soak your raisins in a bit of warm water before you start (this will help them stay plum and moist even once baked!).  Let them soak for 5-10 minutes before draining.

2)  Then, in a large saucepan, whisk your eggs until frothy.

3)  Add in sugar, vanilla, butter and cream and mix.

4)  Stir in raisins, and then boil on a medium heat for 3 minutes.

5)  Remove from heat, and add in chopped nuts.

6)  Spoon the mixture into your tart shells.

7)  Bake at 375 degrees for 15 minutes.  

I'm in love with my mom's handy butter ruler!  This thing is a lifesaver!

You'll want your nuts chopped fairly fine.  The tart shells aren't huge, so you don't want enormous pieces!

We doubled the batch, and ended up making 12 regular tarts, and 19 mini ones!

I like how unfussy these tarts are, and yet they still look and taste amazing!  You'll be sure to make new friends if you bring these to a party.  I promise.

p.s.

 ♥ kelsey