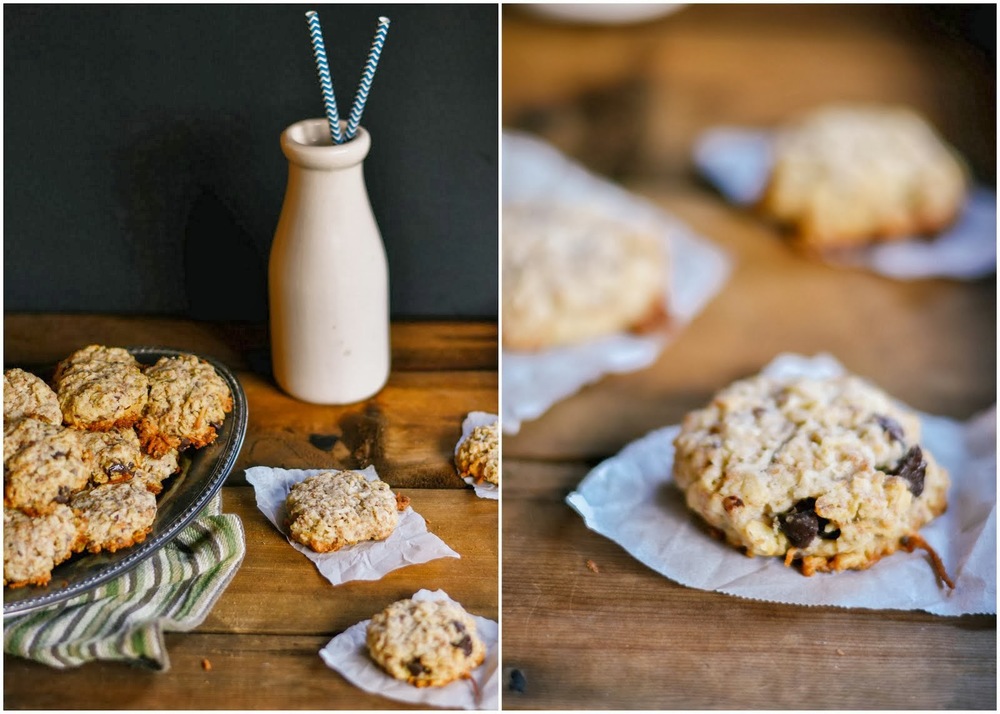
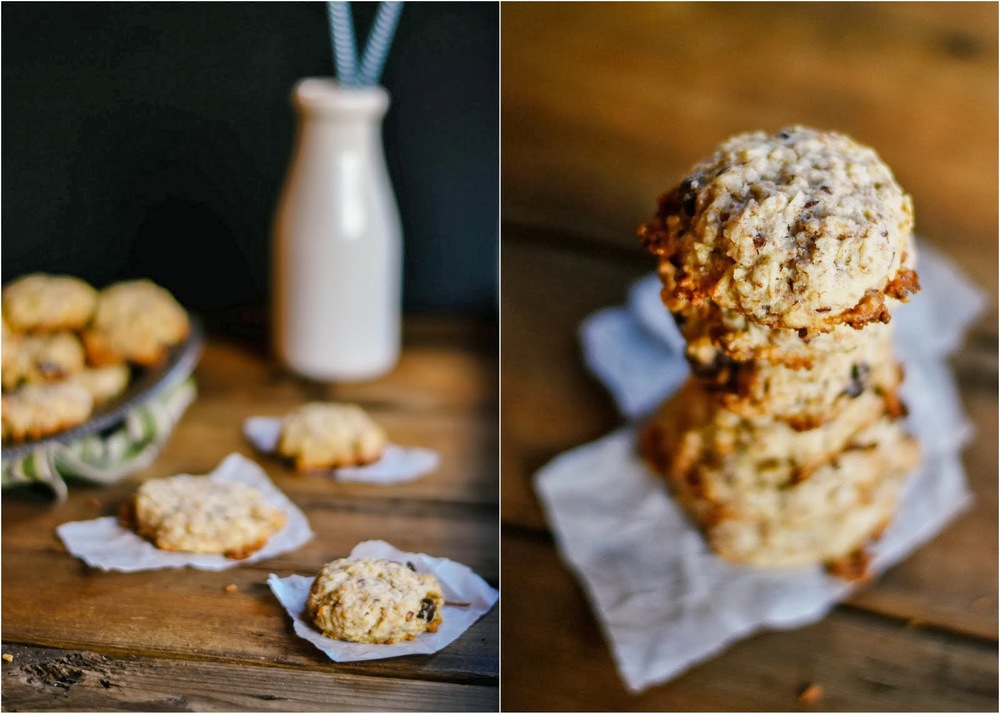
coconut oatmeal chocolate chip cookies
/1/2 cup butter (softened)
Directions:


These cookies come from the very creative mind of Miss Jordyn! She is a pro at melding recipes, and coming up with new ideas in the kitchen. This time, she took her famous
triple chocolate cookie
recipe and wrapped it around mint patties.
Rich and chocolatey, these decadent cookies are best saved for special occasions....like Christmas! They are also quite finicky, and we don't recommend them for beginner bakers!
We love drizzling these cookies in white chocolate, and then sprinkling with red and green sprinkles for Christmas. It'd be fun to mix up the colours of the sprinkles for different occasions, and we've also used crushed up candy canes!
Chocolate Mint Patty Cookies
Ingredients:
1 cup butter
1 cup Sugar
3/4 cup Brown Sugar (packed)
2 Eggs
1 1/4 cup Cocoa Powder
1 3/4 cup Flour
2 tsp Baking Soda
Mint Patties (we used pearsons)
Directions:
1) Place mint patties in the freezer.
2) In a large bowl, cream together butter, sugar and eggs.
3) Mix in cocoa powder, flour and baking soda.
4) Take a few mint patties out of the freezer, and start molding cookie dough around each one. You want as little cookie dough as possible around the mint patties....otherwise your cookies will be too wide and flat and have a bulge in the middle.
5) Continue taking out a few mint patties at a time, and forming cookies until you have a complete pan.
6) Stick your pan of cookies back into the freezer, and repeat the process.
7) Once you have another pan of cookies complete, place your first pan into your oven and bake at 350 degrees for 8-10 minutes.
8) Repeat until cookie dough is used up.
9) If you want, you can drizzle with white chocolate and decorate with sprinkles!
*The key of these cookies is to keep the mint patties as frozen as possible before baking, as well as placing the cookies in the freezer for a bit before going into the oven. Otherwise all your minty-goodness will leak out.*
These cookies are truly not for the faint of heart. I'm going to give it to you straight....These bad boys are tricky. They take a VERY long time. And they might even kick you in the shins. Sometimes they WILL (not might....they will) turn out like this:
But that's okay, because you'll get the hang of it. And these cookies are definitely worth the effort!
For the white chocolate drizzle, I melted a few white chocolate wafers, and used a small ziplock bag with a small cut in one corner to drizzle it on.
And sprinkles if you want, and you're done!
One of my favorite things about Christmas baking is that your house smells amazing all the time! These cookies don't disappoint, and will fill your house with delightful minty chocolate goodness.
p.s.
♥ kelsey
Jordyn and I definitely got our love for cooking and baking from our mom, and we are so blessed to have been encouraged to help in the kitchen from a young age. We were (and still are) always free to experiment in the kitchen, no matter how many mistakes or giant messes we make...and we are so thankful!
Now, this recipe is an absolute classic in our house....and there are almost always a few kicking around, whether it be in the cupboard, or in the freezer. Chocolate chip cookies are my dad's all-time favorite, which is the reason for their abundance!
This recipe is the brain child of our mom, who combined and modified 2 different recipes until she had her own creation that she was happy with!
Chocolate Chip Cookies
Ingredients:
2 cups Butter (or margarine) - at room temperature!
1 1/2 cups Sugar
1 1/2 cups Brown Sugar
3 Eggs
2 tsp Vanilla
2 tsp Baking Soda
4 1/2 cups Flour
2 heaping cups of Chocolate Chips
Directions:
1) In a large bowl, mix together the butter and both sugars.
2) Add in your eggs and vanilla, and mix until nice and fluffy.
3) Gradually add in the flour and baking soda.
4) Stir in the chocolate chips.
5) Scoop the dough onto a cookie sheet (using a silpat on your cookie sheet is best!).
6) Bake at 375 degrees for 10-11 minutes.
Jordyn and I love using a scoop when putting the dough onto our pan. It makes the job nice and easy, and helps keep the size your cookies uniform!
Another tip is to always pull your cookies out a little bit before you think they're done. Cookies tend to bake a little after you pull them out of the oven, and will set as they cool.
In my opinion, there are two ways to enjoy these cookies. Either warm out of the oven, or cold out of the freezer. I don't know why, but I'm a sucker for frozen cookies!
Now, go ahead and make these cookies! They taste like home, and are perfect when paired with a glass of milk.
p.s.
♥ kelsey
Hello, I'm Kelsey!
I grew up on (and now work at) my family's apple farm in the beautiful Fraser Valley, BC. I love cats, salted caramel anything, and have an unhealthy addiction to doughnuts. Read more here!
©2014-2016 KELSEY SIEMENS. ALL RIGHTS RESERVED.
Powered by Squarespace